Table Of Content
- Choose the Right Tent for Quick Setup
- Consider Your Needs and Preferences
- Look for User-Friendly Features
- Opt for Lightweight and Compact Designs
- Pre-Plan the Tent Location
- Consider these tips to pre-plan your tent location
- Why is pre-planning your tent location essential?
- Gather All Necessary Tools and Accessories
- Essential Tools
- Useful Accessories
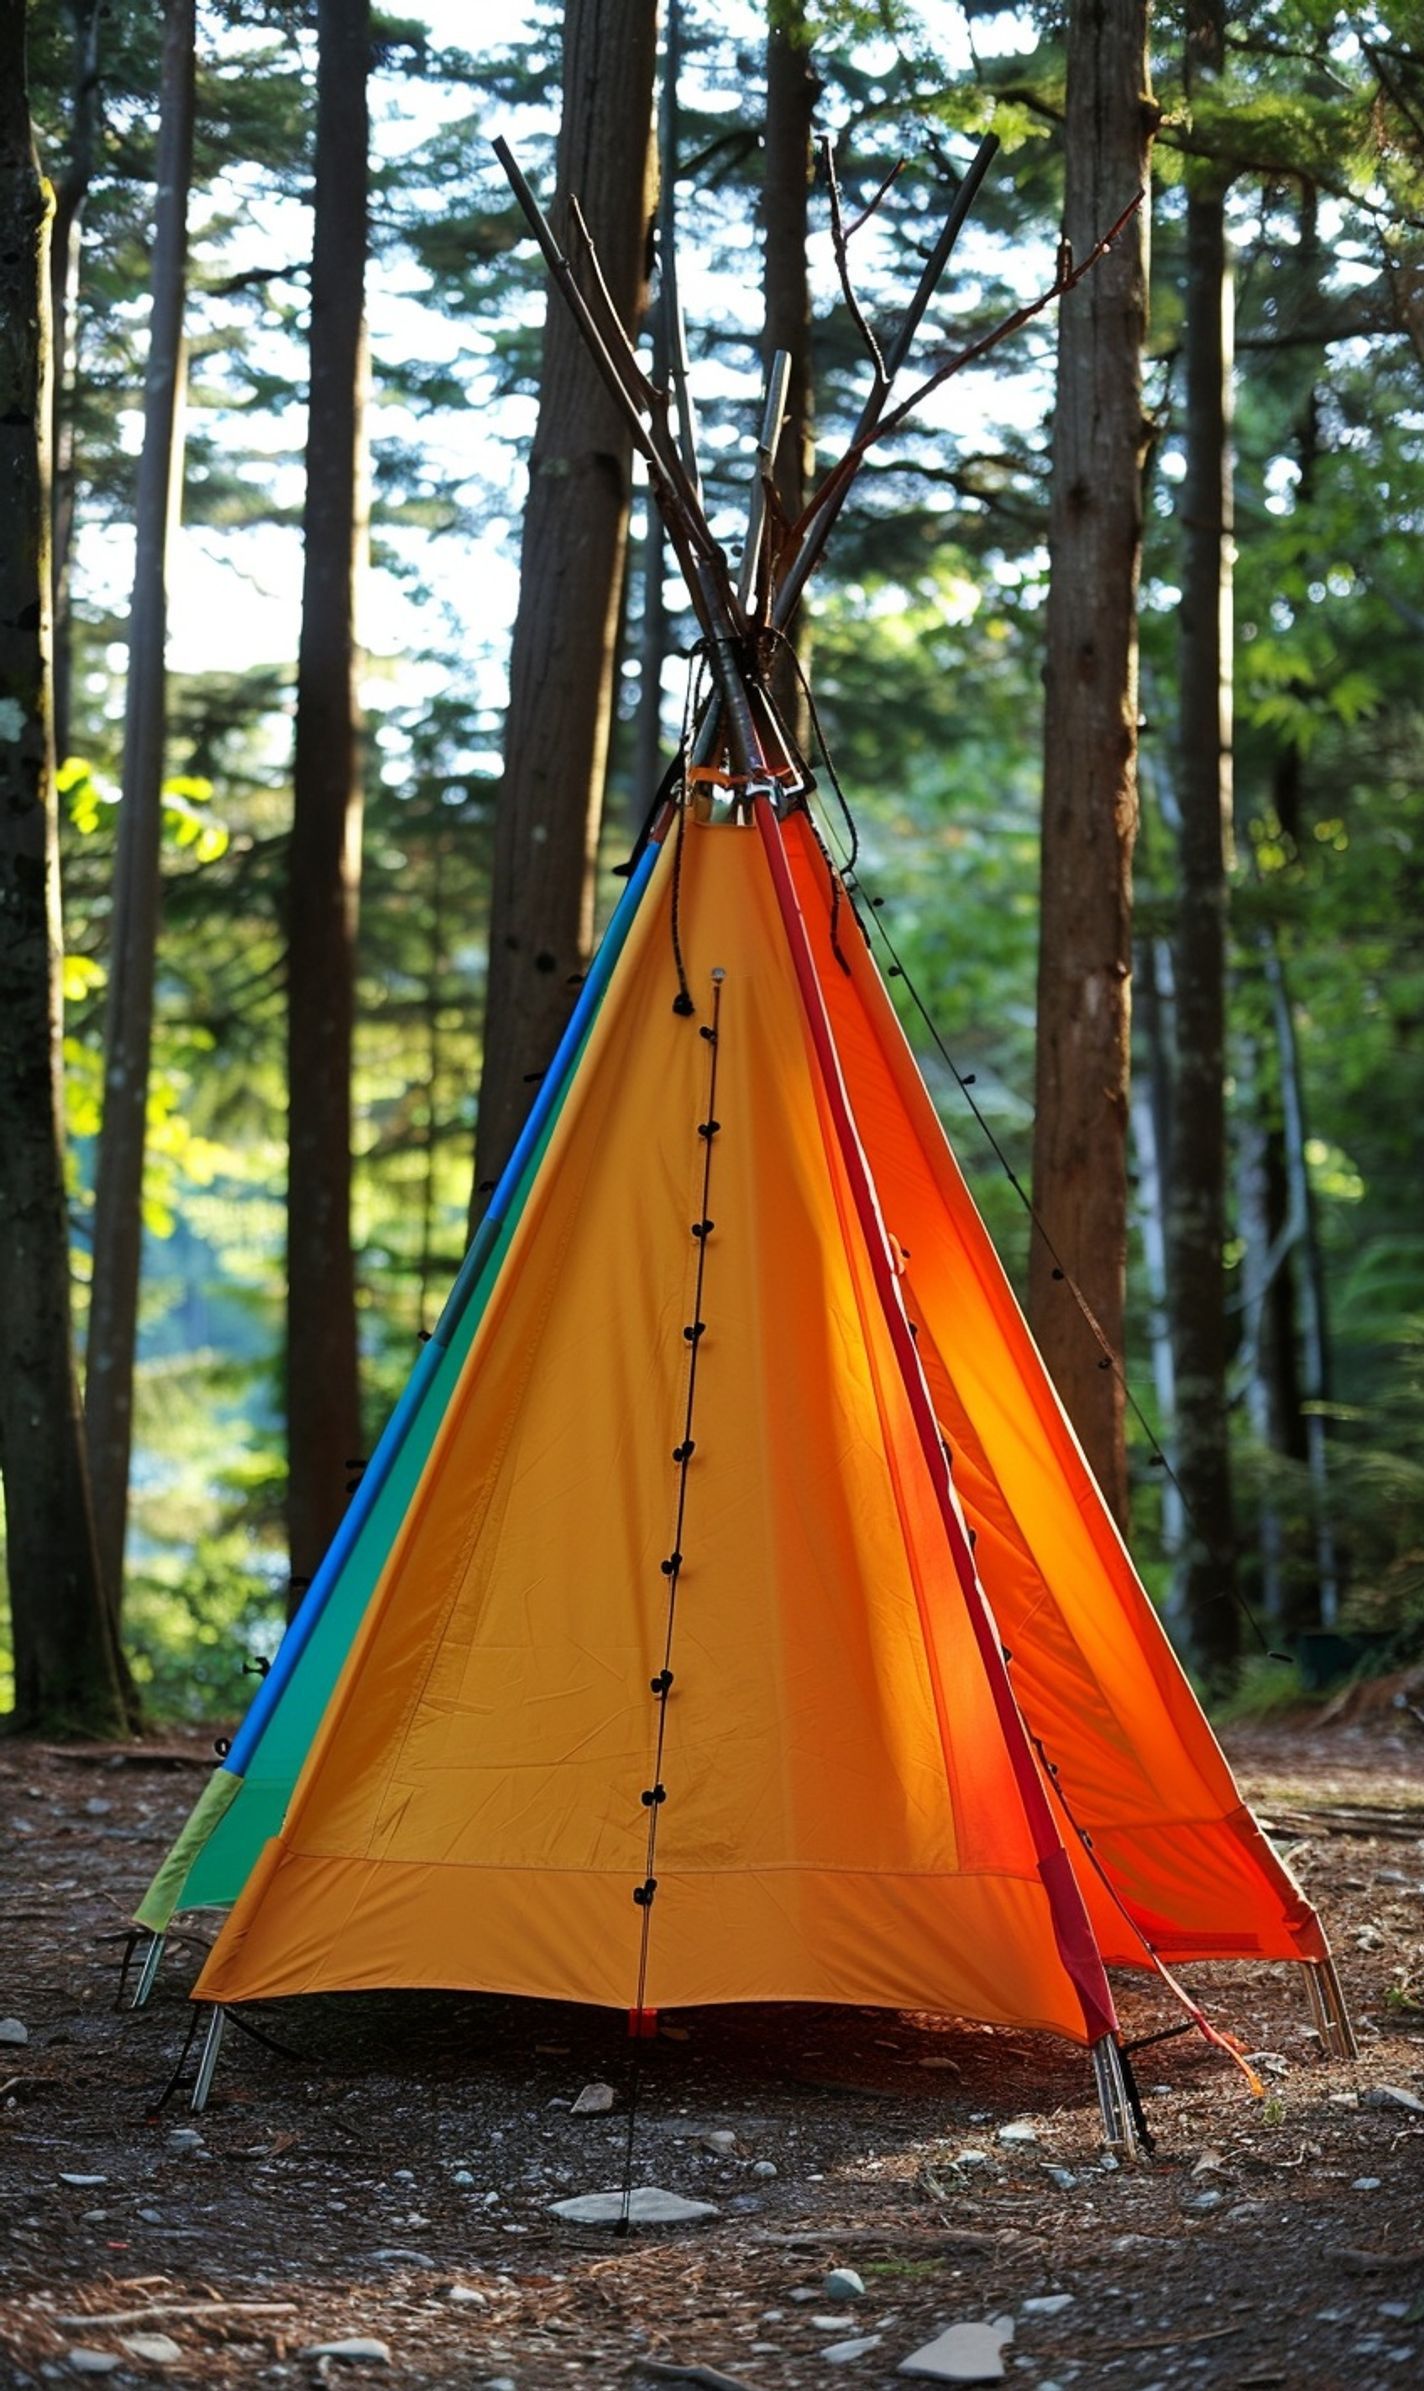
- Utilize Color-Coding for Easy Assembly
- Why Color-Coding Works Wonders
- How to Implement Color-Coding
- The Benefits of Color-Coding
- Practice the Tent Setup Before Your Trip
- Why Practice Makes Perfect
- The Benefits of Prior Practice
- Utilize Quick-Clip or Instant Pitch Tents
- Why Choose Quick-Clip or Instant Pitch Tents?
- The Speedy Setup Process
- Effortless Assembly for Stress-Free Camping
- Opt for Pop-Up or Inflatable Tents
- Why Choose Pop-Up or Inflatable Tents?
- The Joy of Instant Shelter
- Frequently Asked Questions (FAQs)
As avid campers, we all know the excitement of arriving at a beautiful campsite, eager to immerse ourselves in nature and set up our temporary home away from home. However, the tedious task of pitching a tent can sometimes dampen our enthusiasm, especially after a long journey or late arrival. That’s where time-saving tent setup techniques come in to rescue us!
Mastering speedy tent-pitching skills saves you valuable time and allows you to enjoy more of the great outdoors. Whether you’re a seasoned camper looking to streamline your setup process or a newbie wanting to avoid the stress of complicated tent assembly, this blog post is your ultimate guide to efficient tent pitching.
From choosing a suitable campsite to utilizing innovative tools and intelligent strategies, we’ll explore tips and tricks to help you pitch your tent easily and quickly. With our time-saving techniques, say goodbye to frustration and hello to hassle-free camping adventures!
Choose the Right Tent for Quick Setup
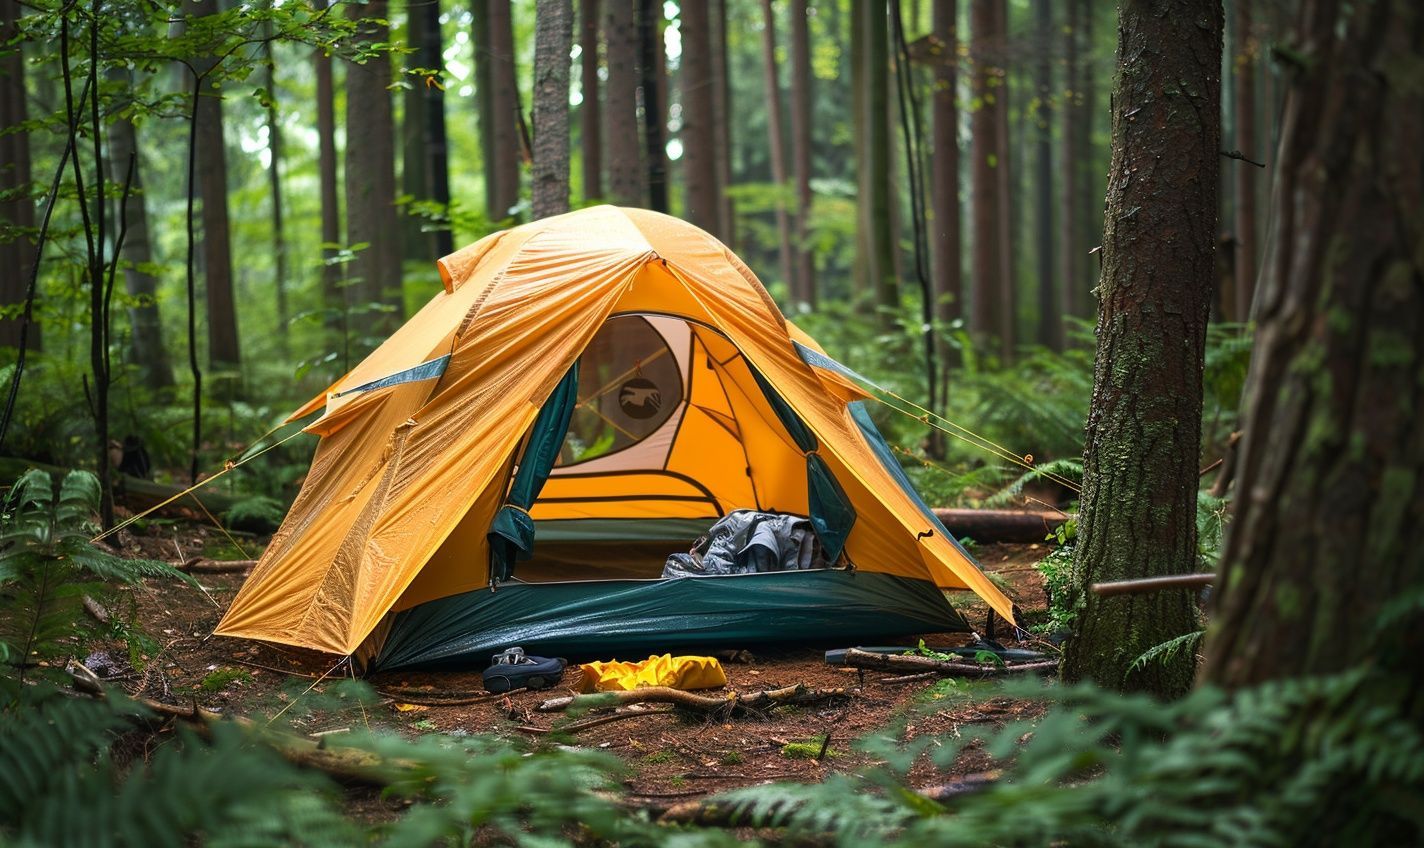
Selecting the right tent can make a difference in time-saving tent setup during camping trips. Here’s how you can choose the ideal tent for speedy techniques:
Consider Your Needs and Preferences
When choosing a tent, consider the size of your group, the weather conditions you may encounter, and your comfort level. Assess whether you want a traditional tent or a more innovative design.
Look for User-Friendly Features
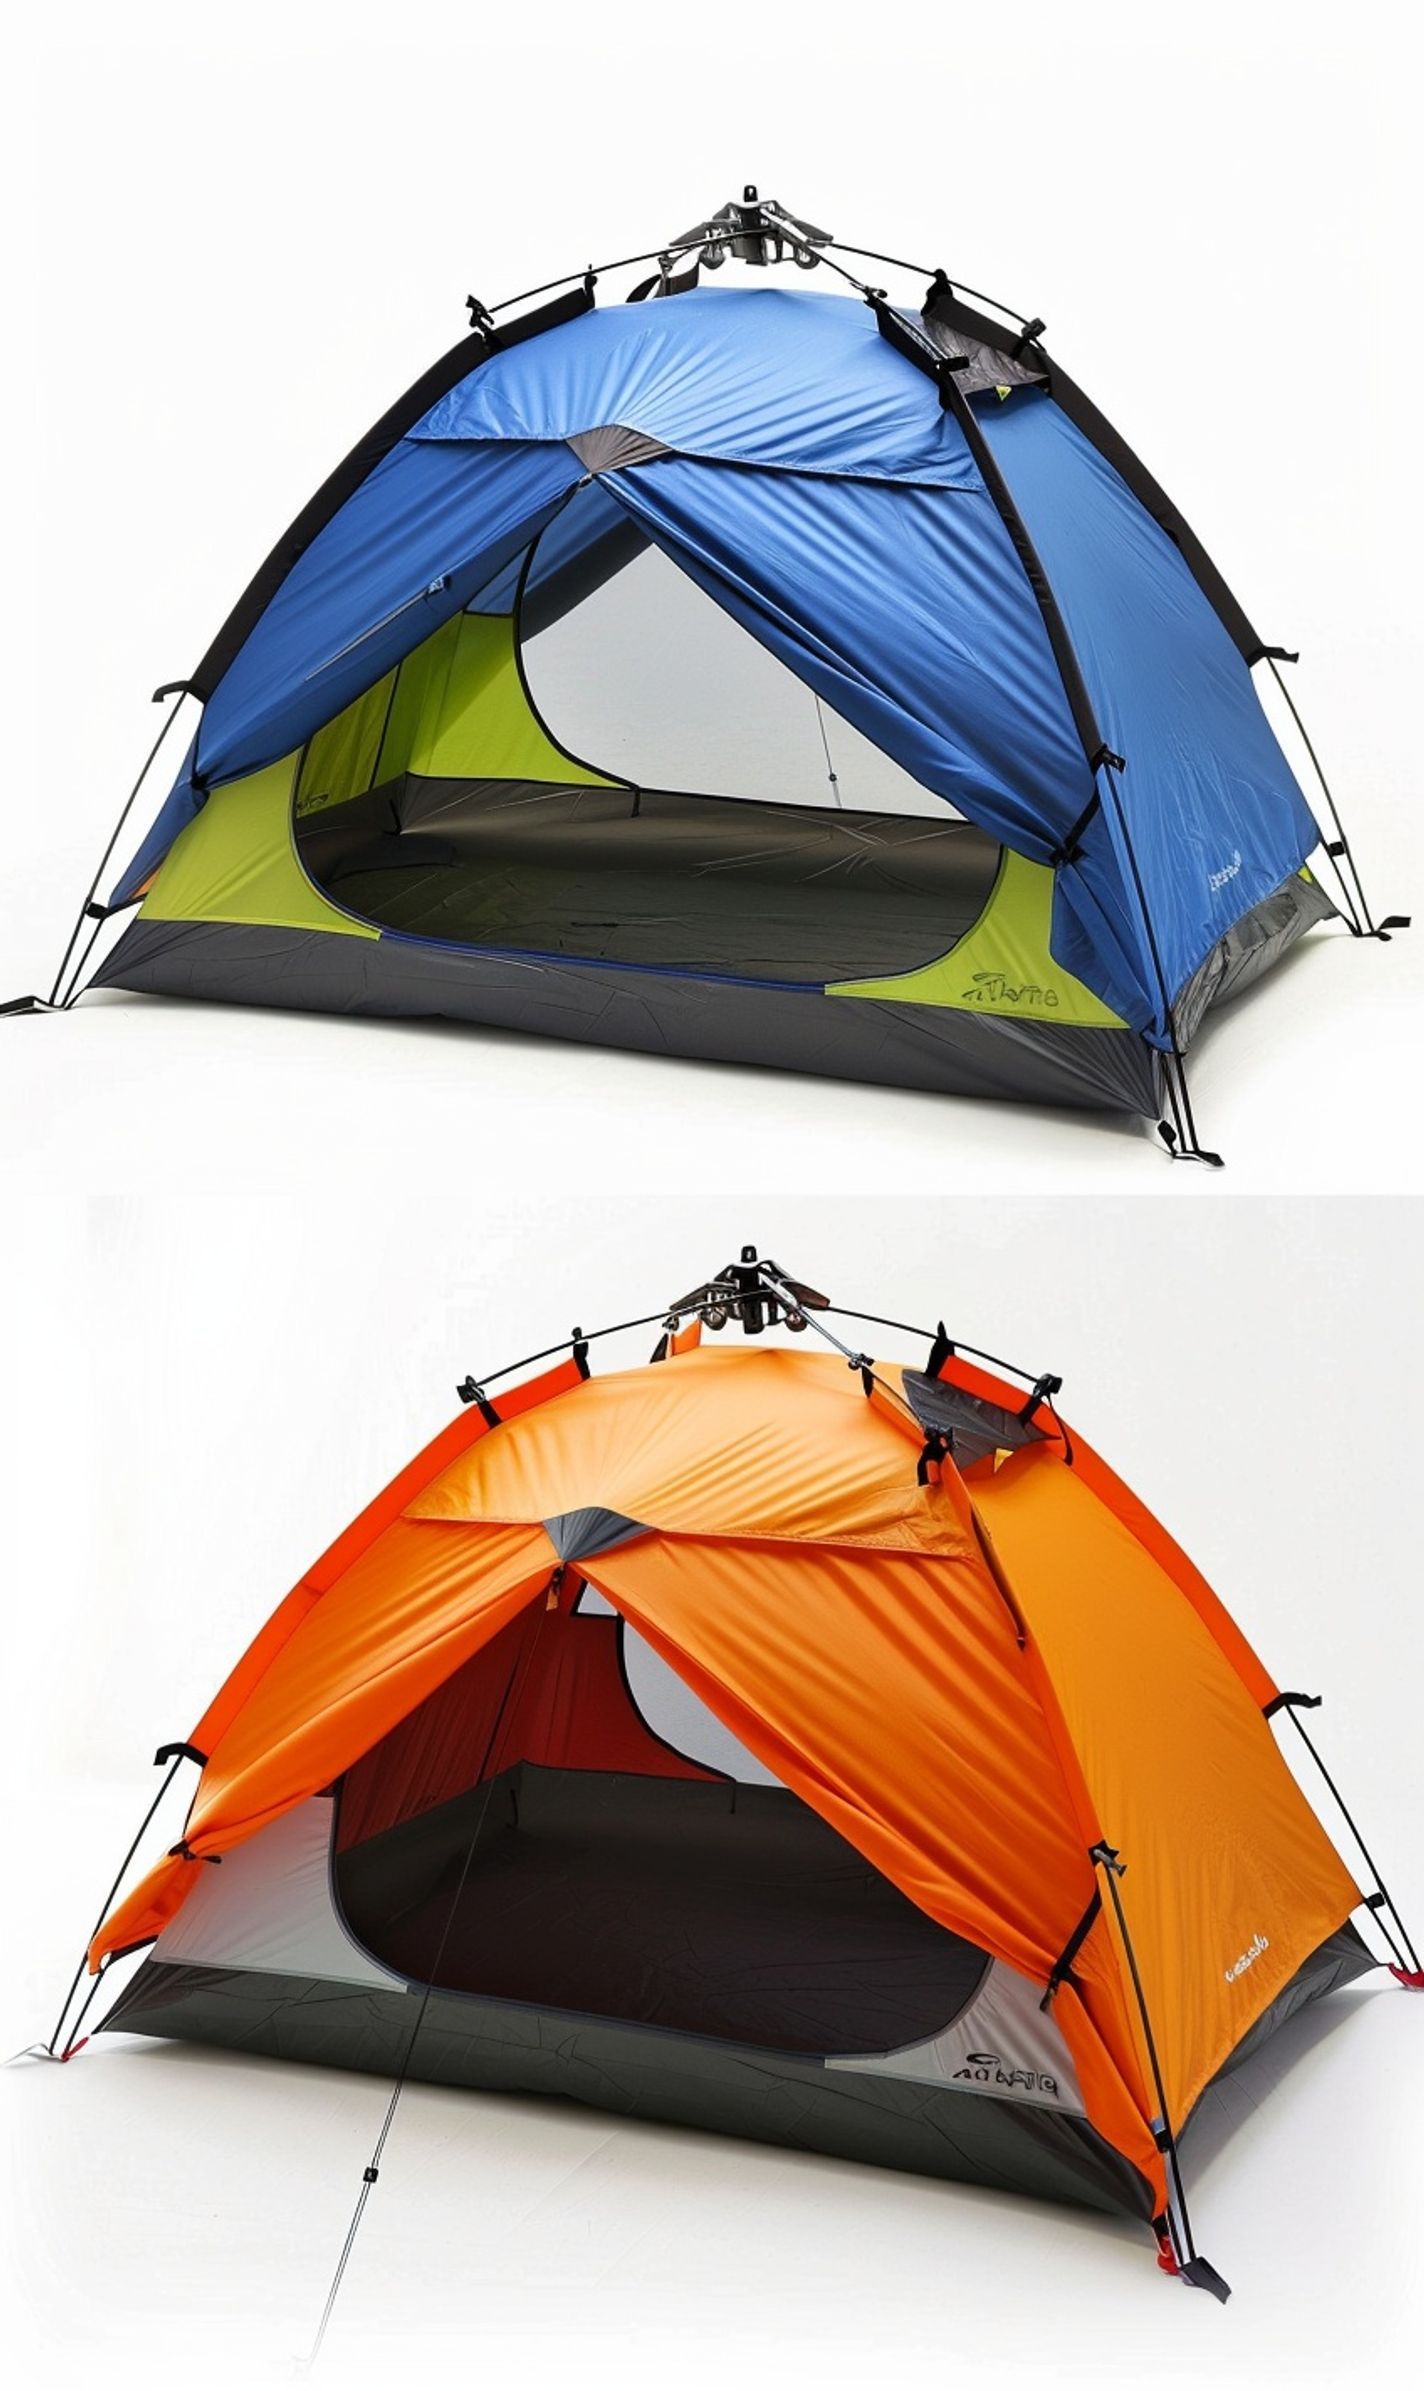
Opt for tents with features like color-coded poles or quick-clip systems for easy assembly. These features can significantly speed up the setup process, especially if camping in low-light conditions or bad weather.
Opt for Lightweight and Compact Designs
Lightweight tents are easier to carry on your hike and quicker to set up. Look for easy-packaged and transport tents, saving time and energy when you reach your campsite.
And remember, investing in a high-quality tent that suits your needs can make your camping experience more enjoyable and stress-free. So, choose wisely and make the most of your outdoor adventures!
Pre-Plan the Tent Location
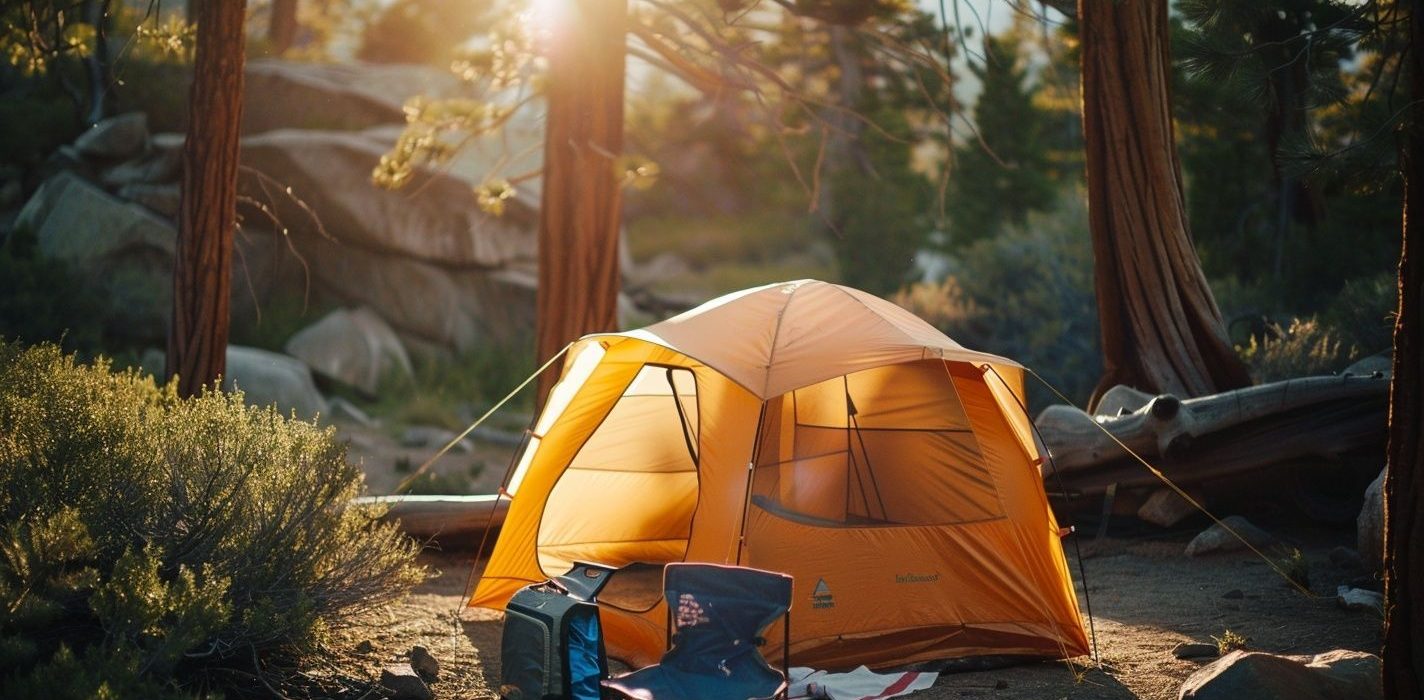
And so, you’ve decided to embark on a camping adventure. But before diving headfirst into setting up your tent, take a moment to consider the significance of pre-planning the tent location. This crucial step can make all the difference in achieving a stress-free and enjoyable camping experience.
Consider these tips to pre-plan your tent location:
1. Terrain: Survey the camping area for flat and even ground to ensure a comfortable sleeping surface. Avoid setting your tent on slopes or rocky terrain to prevent discomfort during restful nights under the stars.
2. Proximity: Choose a location safe from water bodies, such as rivers or lakes, to avoid potential flooding or moisture seeping into your tent.
3. Sun Exposure: Position your tent in an area that can receive ample sunlight during the day to help dry out any dew or moisture that may accumulate overnight.
Why is pre-planning your tent location essential?
Imagine setting up your tent in a rush, only to realize later that you’re on a slanted surface. The discomfort from sleeping at an awkward angle can ruin your camping experience. So, pre-planning your tent location is like laying the foundation for a sturdy house; it ensures a solid and stable shelter for your outdoor escapade.
With these insights, you can choose a strategic tent location that sets the stage for a seamless camping adventure.
Gather All Necessary Tools and Accessories
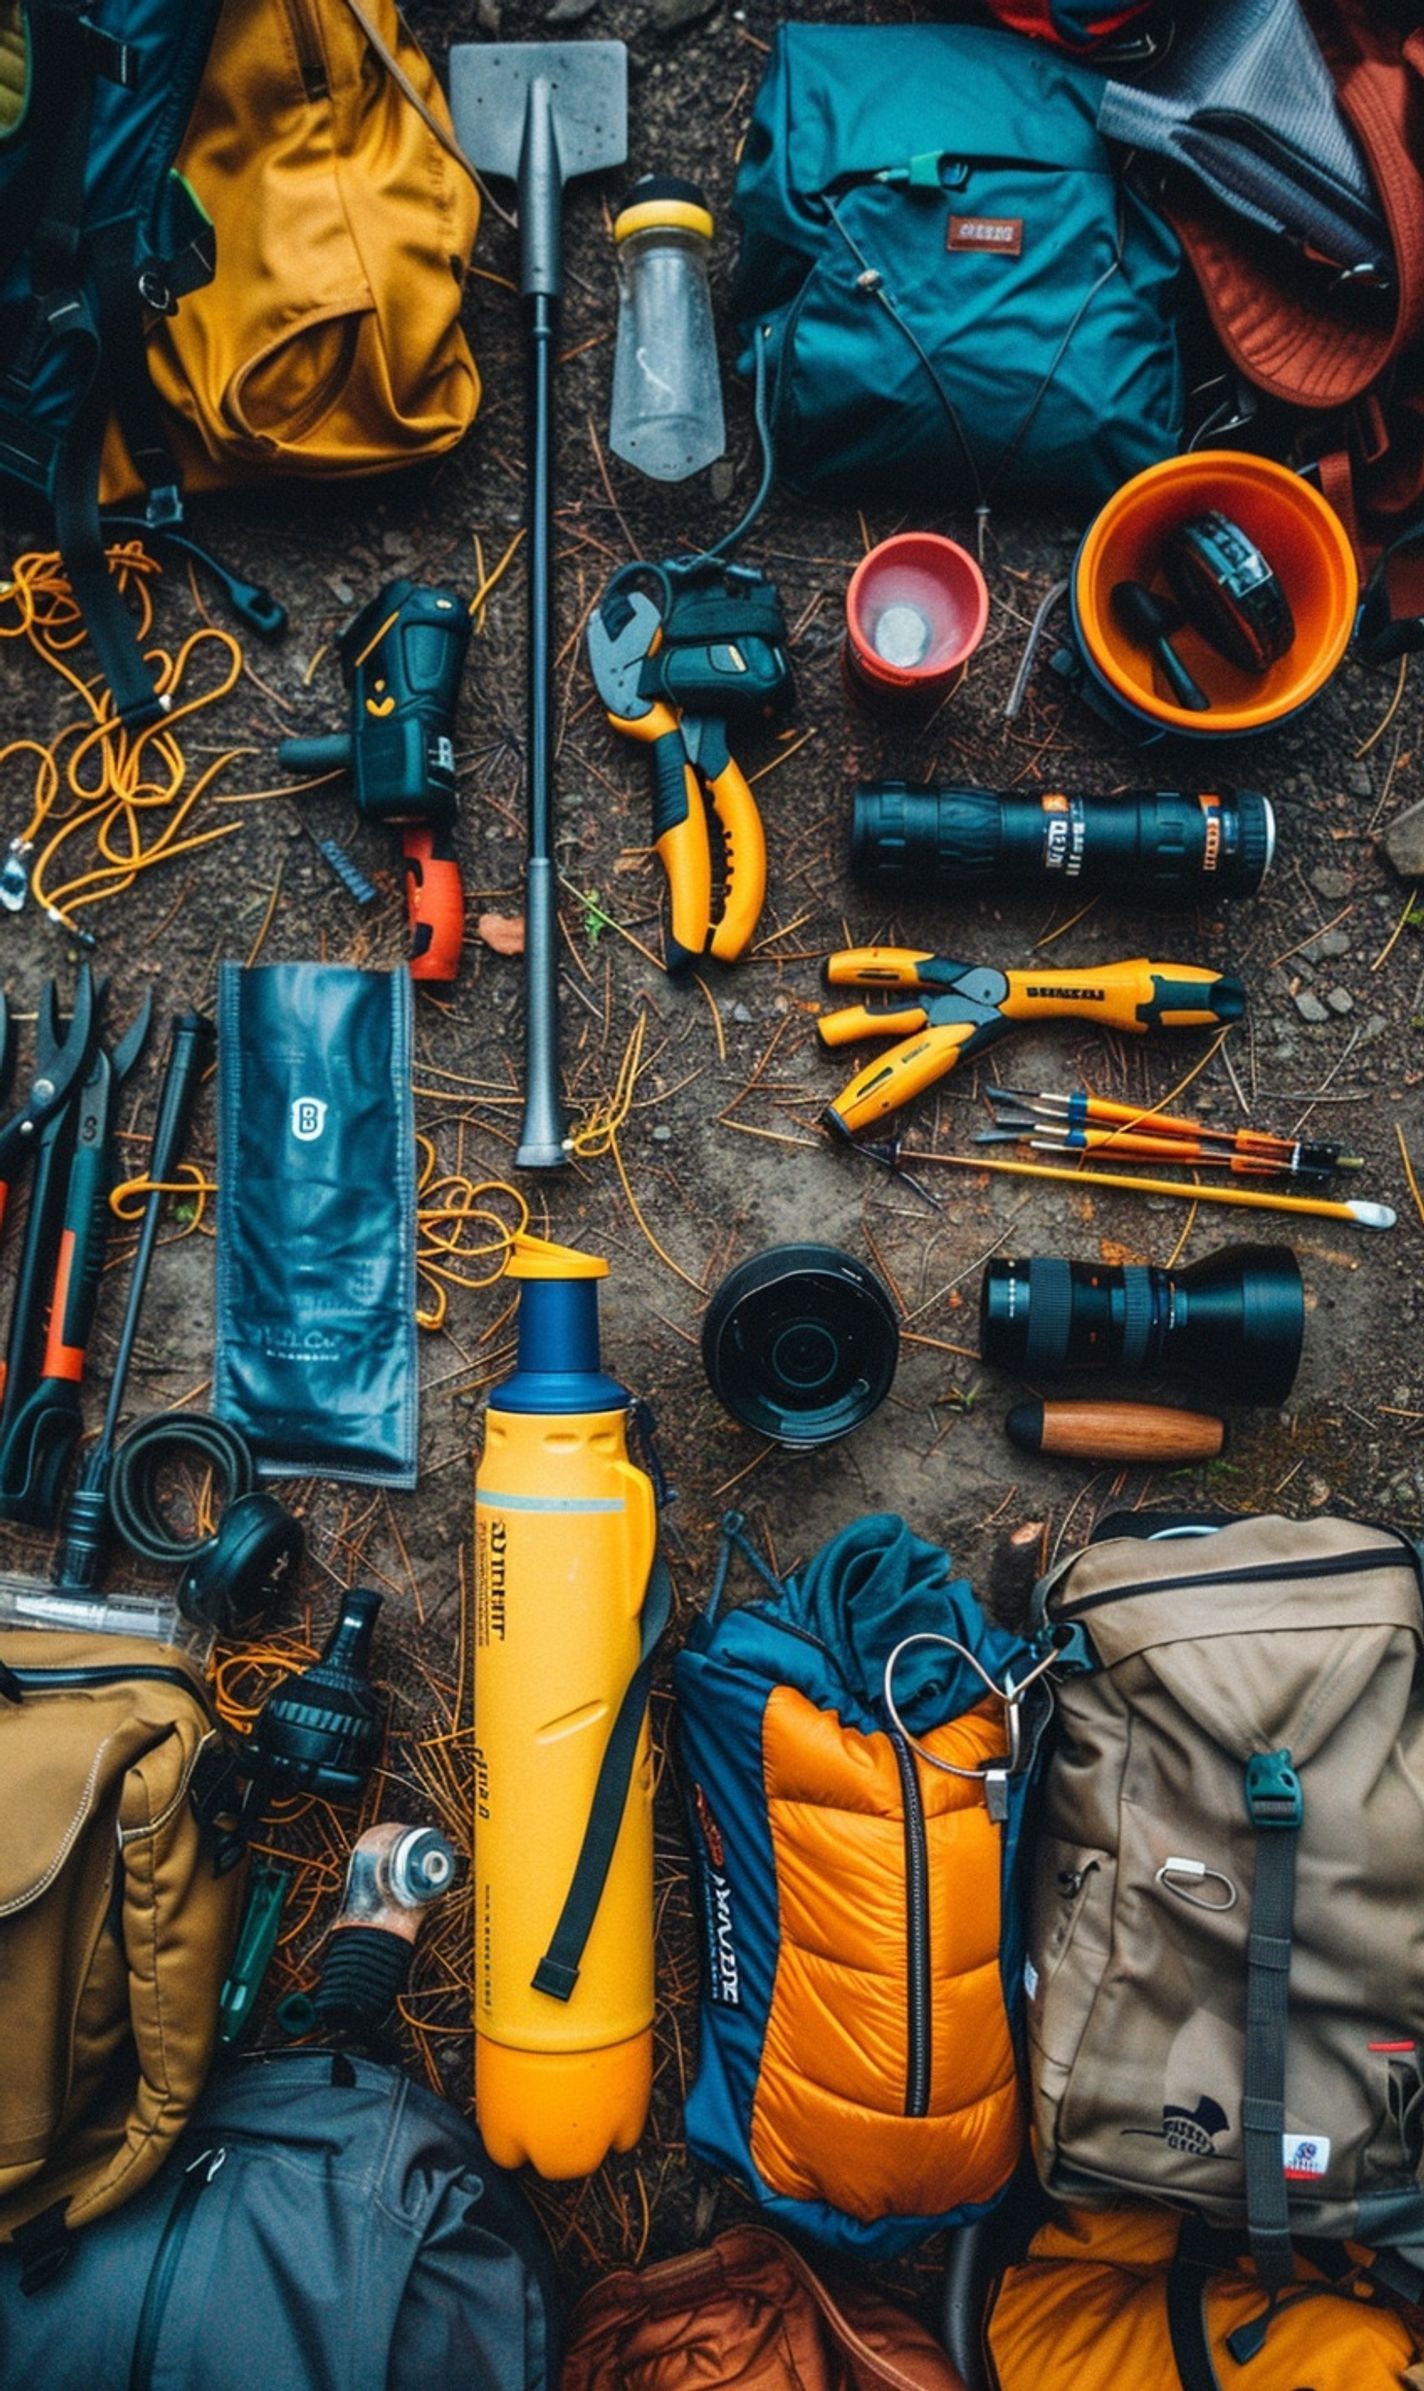
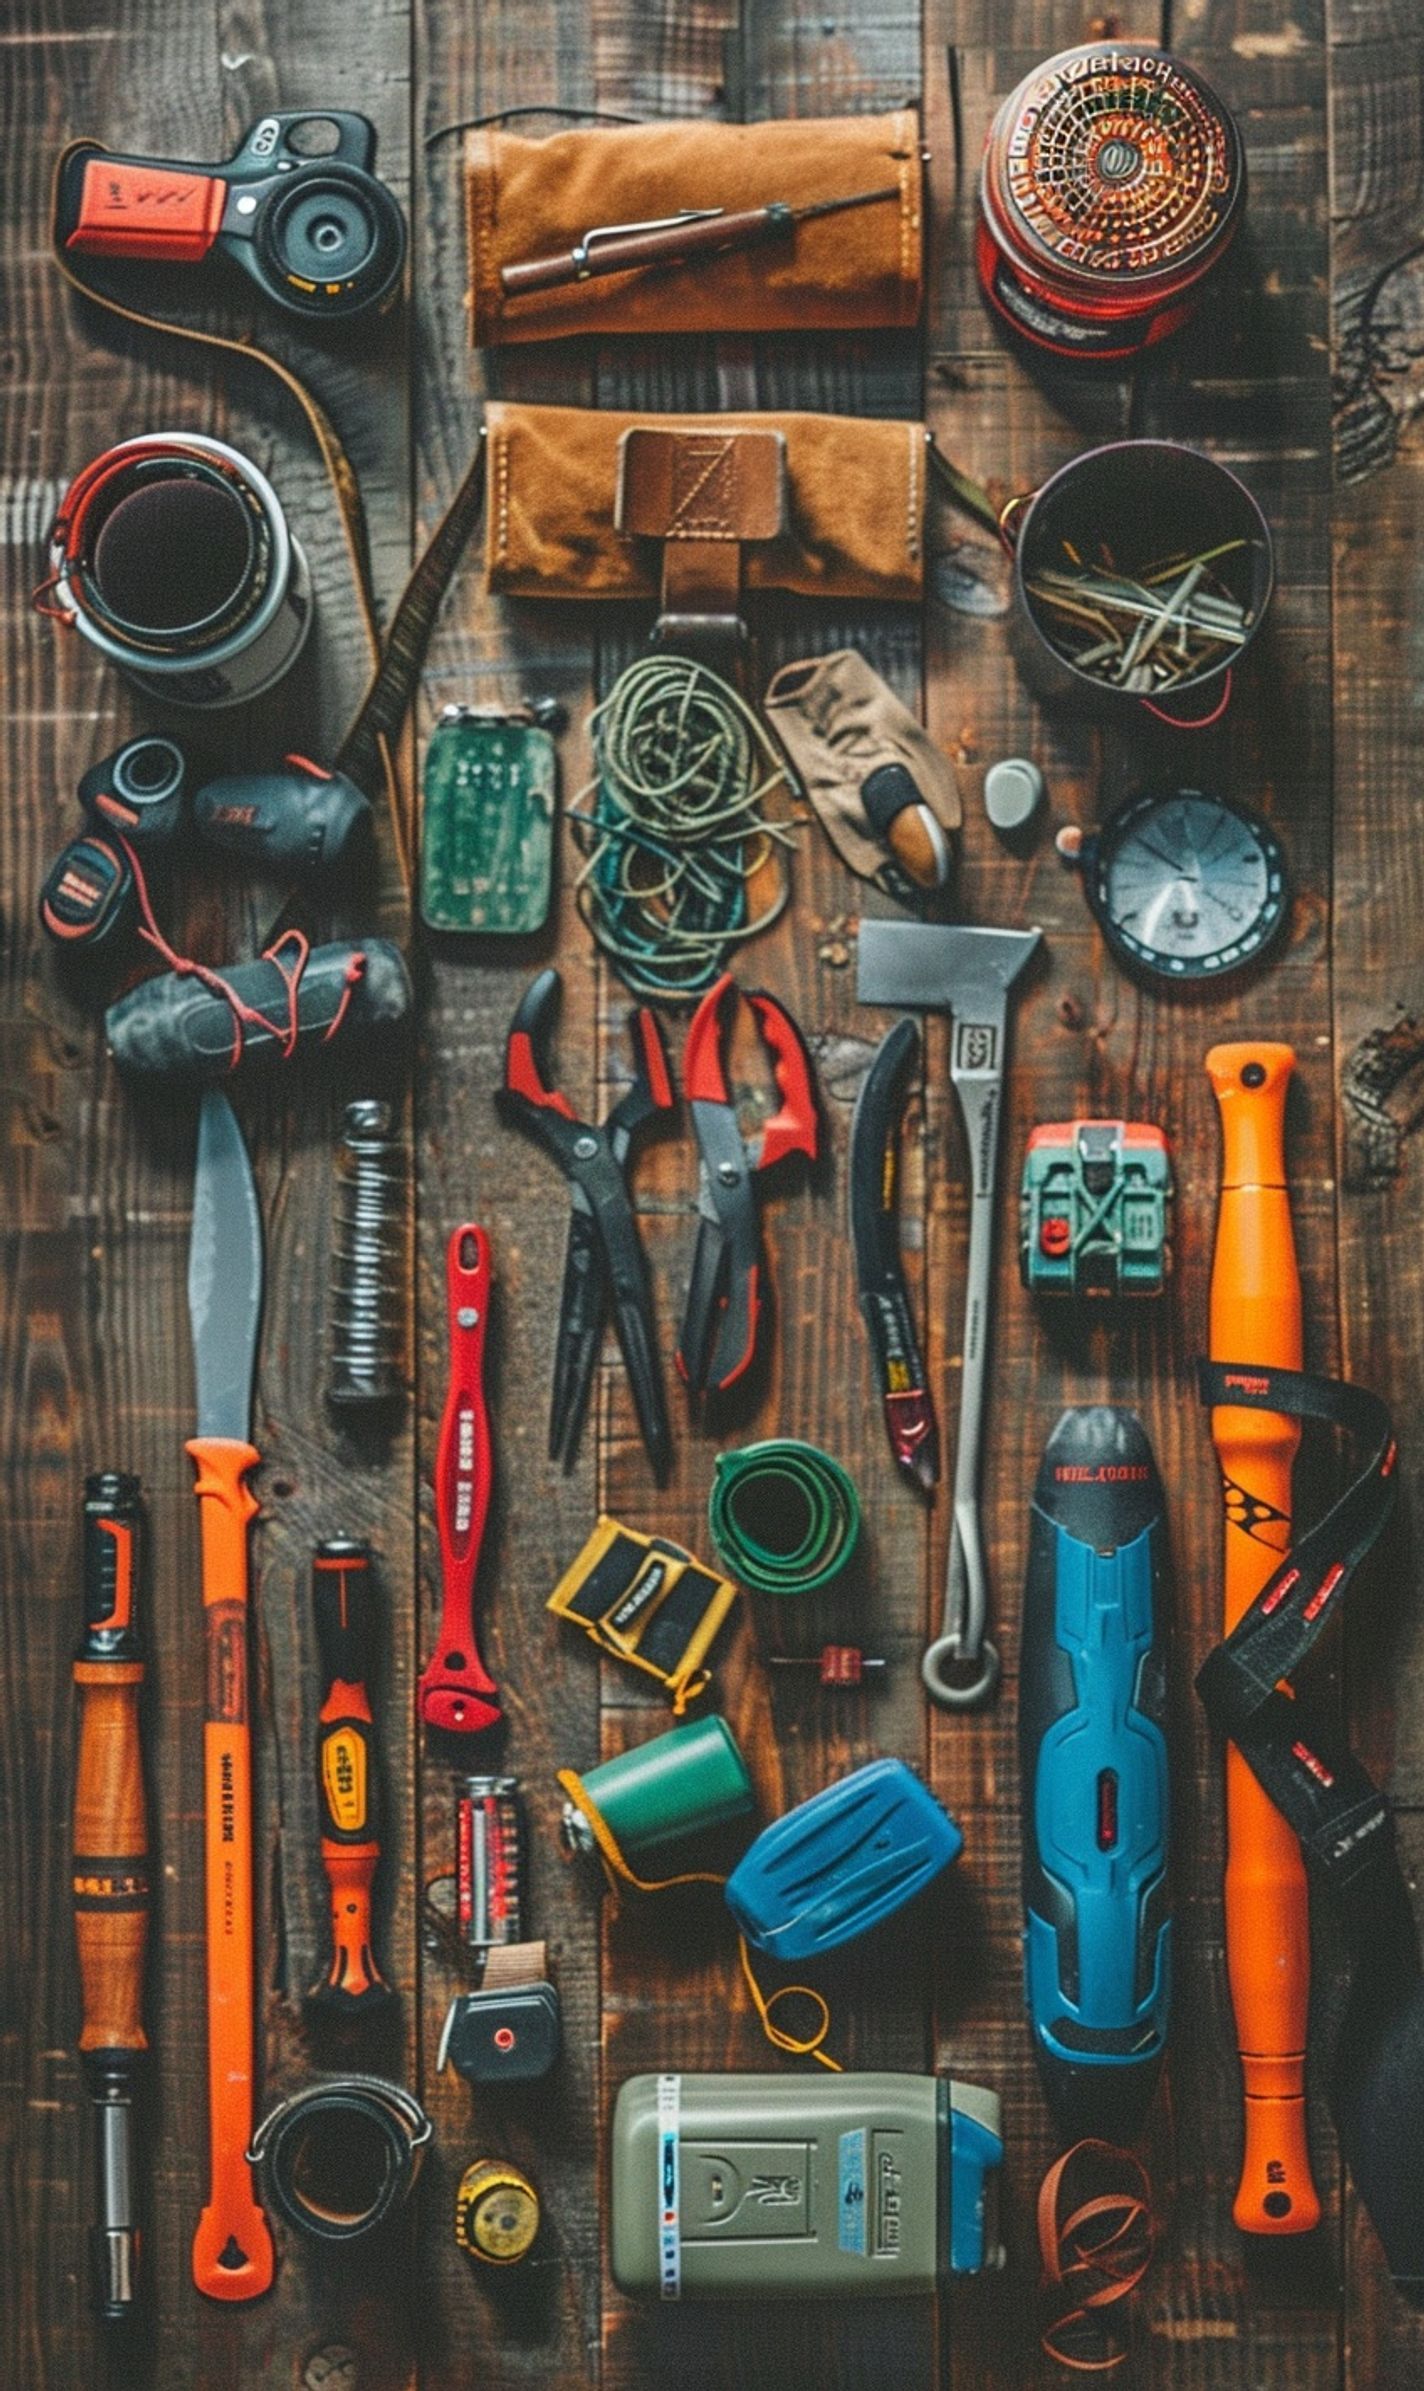
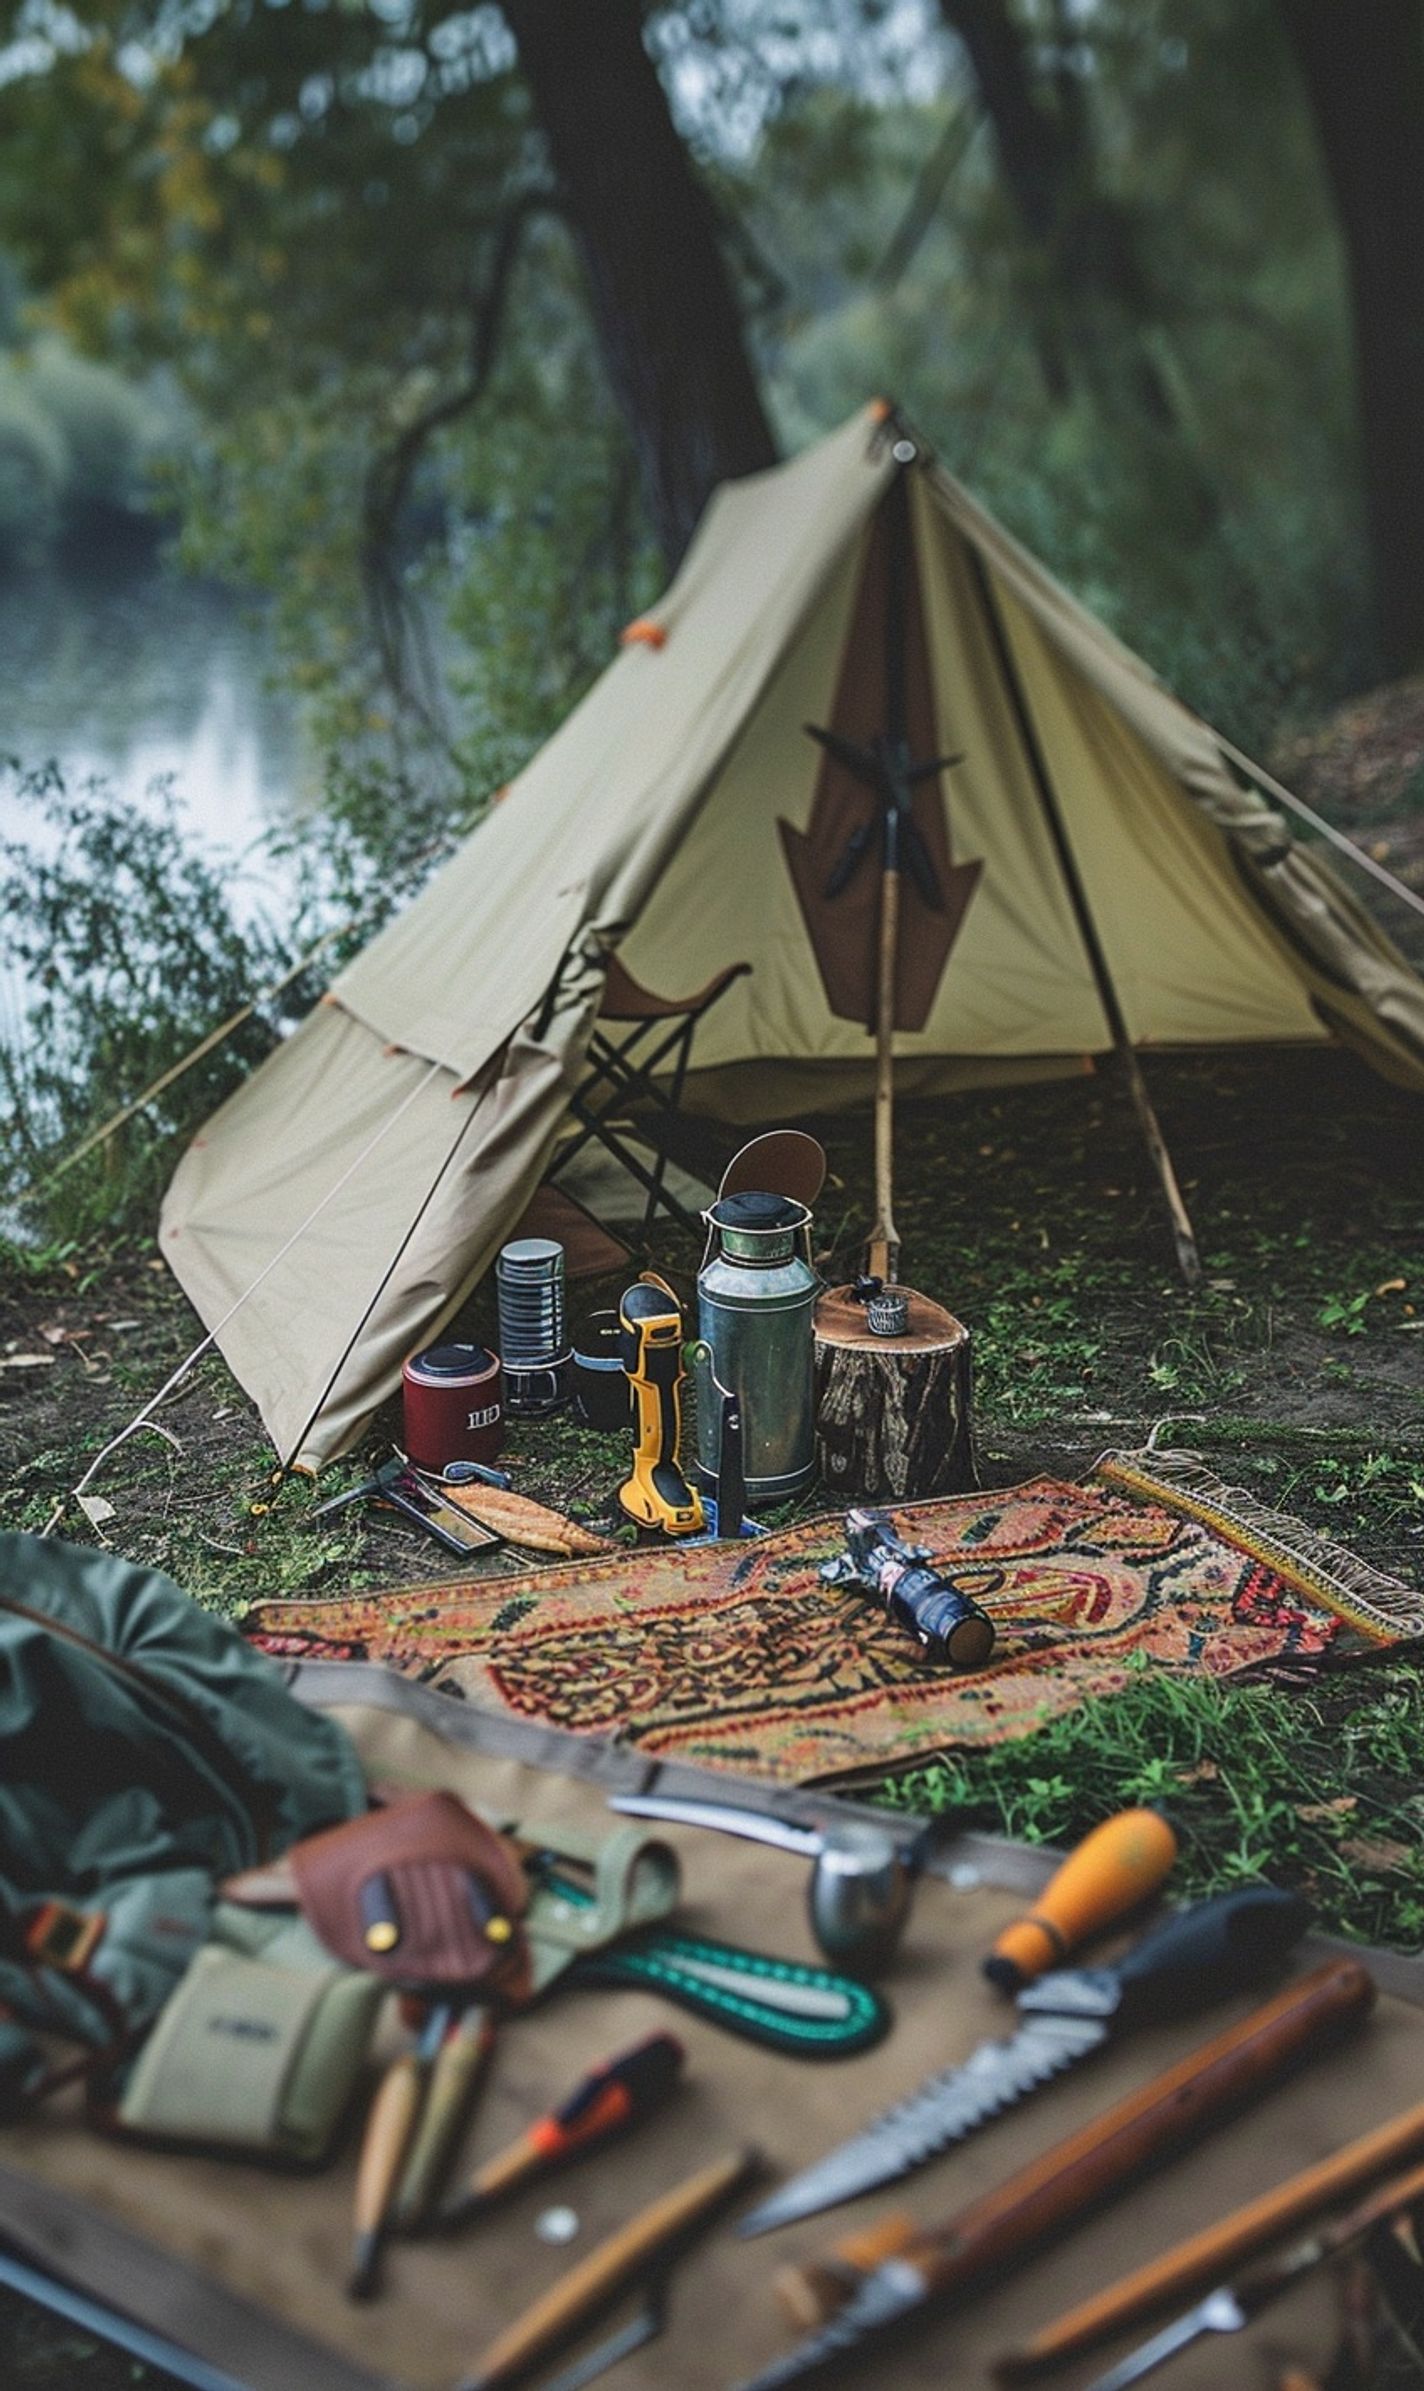
Setting up a tent quickly and efficiently requires having all the right tools and accessories on hand. Be prepared with the following items to ensure a smooth tent setup:
Essential Tools:
- Hammer or Mallet: For securing tent stakes into the ground.
- Tent Stakes: Ensure you have enough stakes to secure all corners of the tent.
- Tent Poles: Ensure all poles are accounted for and in good condition.
Useful Accessories:
- Tarp or Ground Cloth: Provides an extra layer of protection for the tent floor.
- Tent Footprint: Helps protect the tent bottom from wear and tear.
- Headlamp or Flashlight: Essential for setting up in low light conditions.
With these tools and accessories ready, you can streamline the tent setup process and avoid any last-minute scrambling to find missing items. Remember, being prepared is critical to a successful camping experience!

Utilize Color-Coding for Easy Assembly
When it comes to time-saving tent setup, one little trick that can make a huge difference is using color-coding. Imagine having all your tent parts marked with different colors, almost like a coloring book. Sounds fun.
Why Color-Coding Works Wonders
By assigning a specific color to each part of your tent, you create a visual roadmap for assembly. No more fumbling around with confusing instructions or mismatched pieces. It’s like putting together a jigsaw puzzle but way more straightforward!
And the best part? You don’t need to be a camping pro to master this technique. All it takes is a set of colored markers or tape and a few minutes to label your tent components before your trip.
How to Implement Color-Coding
Here’s a simple step-by-step guide to get you started:
- Gather your tent poles, stakes, rain fly, and other accessories that must be color-coded.
- Choose a different color for each item – red for the tent poles, blue for the stakes, and yellow for the rainfly.
- Label each part accordingly using colored tape or markers. Make sure the colors are vibrant and easy to distinguish.
- Store the color-coded components together in a designated bag or container for quick access during setup.
The Benefits of Color-Coding
Using color-coding not only expedites the tent assembly process but also offers a range of other advantages:
- Enhanced Efficiency: With color-coordinated parts, you’ll spend less time figuring out what goes where allowing you to set up your tent in record time.
- Reduced Stress: Say goodbye to frustration and confusion – color coding simplifies the setup process, making it a breeze for campers of all skill levels.
- Improved Organization: Keeping your tent components neatly sorted by color promotes a tidy camping experience, ensuring you never misplace a crucial piece again.
Practice the Tent Setup Before Your Trip
Imagine reaching your camping spot as the sun begins to set. The wind is picking up, and your stomach is growling for dinner. You open your trunk, pull out your tent, and then struggle to set it up. The instructions seem foreign, and the poles are a tangled mess. Frustration sets in, and the peaceful evening you dream of becomes stressful. The good news? This scenario is entirely avoidable!
Why Practice Makes Perfect
Like learning to ride a bike, setting up a tent requires practice. By rehearsing the tent set up in your backyard or living room, you familiarize yourself with the process, making it second nature when you arrive at your campsite.
- Enhances your speed and efficiency during setup
- Minimizes errors and confusion
- Boosts your confidence for a stress-free camping experience
The Benefits of Prior Practice
If you are practicing tent setup before your trip, it offers many benefits, from practical to emotional. It’s not just about saving time; it’s about enjoying your camping adventure to the fullest.
- Efficiency Boost: Knowing exactly how to assemble your tent streamlines the process, giving you more time to relax and explore the great outdoors.
- Confidence Building: Familiarity breeds confidence. By mastering the setup beforehand, you approach your trip with a can-do attitude that sets the tone for a positive experience.
- Reduced Stress: Eliminate the guesswork and frustration on-site by tackling challenges in a controlled environment. A stress-free setup leads to a stress-free stay.
Remember, the key to a successful camping trip isn’t just the destination—it’s the journey. Practicing your tent setup ensures your journey starts on the right foot.
Utilize Quick-Clip or Instant Pitch Tents
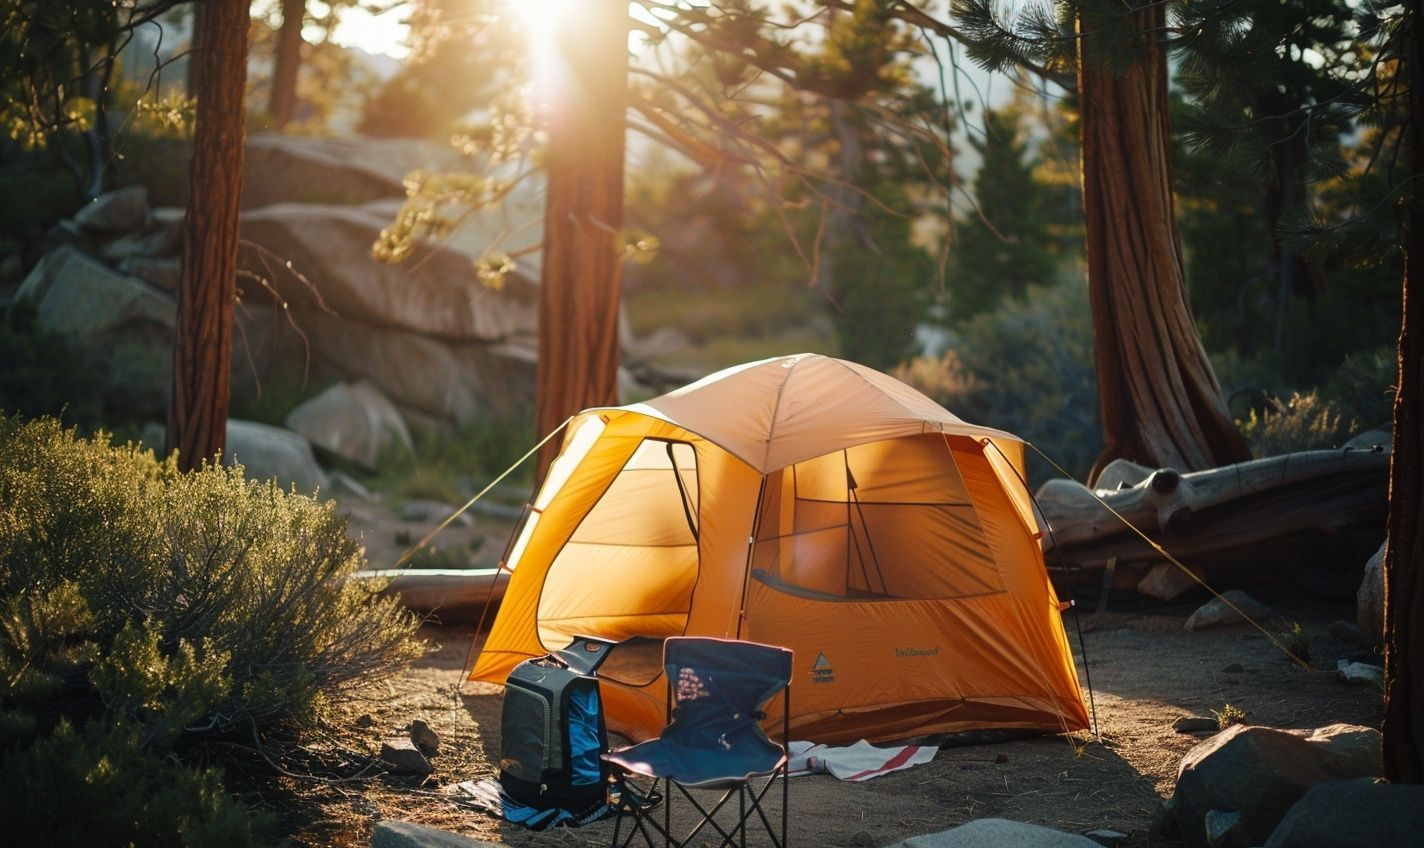
In the world of camping, time is of the essence. You want to spend less time setting up your shelter and more time enjoying the great outdoors. That’s where quick-clip or instant-pitch tents come in handy. Let’s delve into how these tents can revolutionize your camping experience.
Why Choose Quick-Clip or Instant Pitch Tents?
Setting up camp shouldn’t feel like solving a complex puzzle. Quick-clip or instant pitch tents simplify the process with their user-friendly design.
The Speedy Setup Process
The beauty of these tents lies in their simplicity. With intuitive mechanisms, you can have your tent up in minutes, allowing you to kick back and relax sooner.
And with fewer components to fuss over, you can bid farewell to the tedious task of sorting through a tangled mess of tent poles.
Effortless Assembly for Stress-Free Camping
Picture this: you arrive at your campsite as the sun dips below the horizon. With a quick-clip or instant pitch tent, you can avoid the frantic rush to set up before darkness descends.
But beyond speed, these tents offer peace of mind. You won’t have to second-guess whether you’ve put the poles in the right place or struggle to interpret confusing instructions.
Instead, you can focus on soaking in the beauty of nature, knowing that your shelter is securely in place.
Whether a camping novice or a seasoned outdoor enthusiast, quick-clip or instant-pitch tents are a game-changer for creating hassle-free camping memories.
Opt for Pop-Up or Inflatable Tents
Choosing the right tent type can make a difference when breezing through your tent setup process. Pop-up or inflatable tents are like the instant noodles of the camping world—quick, easy, and oh-so-satisfying. Explore why these tents can be your ultimate time-saving companions on outdoor adventures.
Why Choose Pop-Up or Inflatable Tents?
1. Effortlessness: Like magic, pop-up tents unfold and pitch themselves, allowing you to kick back and relax quickly.
2. Rapid Inflation: Inflatable tents can be set up in minutes using a pump, sparing you the hassle of endlessly fussing with poles and cords.
The Joy of Instant Shelter
Imagine arriving at your campsite after a long day of hiking. The sun is setting, and darkness begins to envelop the landscape. You’re tired and hungry; all you need is a cozy shelter to rest your weary bones. And then, behold—the pop-up tent springs to life like a trusty sidekick, offering instant refuge, a haven amidst the wild—all within mere moments.
Embrace the convenience and peace of mind of opting for a pop-up or inflatable tent. Say goodbye to wrestling with tent poles in the fading light or struggling to decipher complicated instructions. With these modern marvels of camping gear, setting up camp becomes a breeze, leaving you with more time to savor the great outdoors and create lasting memories.
Conclusion
Mastering time-saving tent setup techniques can genuinely elevate your camping experience. Using speedy pitching methods saves time and effort and ensures a stress-free start to your outdoor adventure.
An efficient tent setup is worth perfecting whether you are a novice camper or a seasoned outdoor enthusiast. With the right tools and knowledge, you can significantly reduce the time spent assembling your shelter and focus more on enjoying nature.
Remember, practice makes perfect when setting up your tent quickly. Experiment with different methods, stay organized with your gear and always prioritize safety to make the most out of your camping trips.
So, next time you head out into the great outdoors, arm yourself with these time-saving tent setup techniques and see how they can streamline your camping routine. With some practice and the right approach, you can pitch your tent effortlessly, leaving more time to relax, explore, and create lasting memories in the wilderness.
Frequently Asked Questions (FAQs)
How can I save time while setting up my tent?
You can save time setting up your tent by practicing the technique, organizing your gear before arriving at the campsite, and selecting a tent with a straightforward setup design.
What are some speedy tent-pitching techniques?
Some speedy tent-pitching techniques include pre-attaching the rainfly to the tent, using color-coded poles for quick assembly, and laying out the tent footprint beforehand.
Are there any tools that can help me set up my tent faster?
Tools like tent stakes with built-in hooks, a rubber mallet for pounding stakes, and a headlamp for low-light visibility can make the setup process quicker and easier.
How important is it to practice setting up my tent before going camping?
Setting up your tent before a camping trip is crucial as it familiarizes you with the process, reduces setup time, and helps identify any missing or broken parts in advance.
Can inclement weather affect the speed of the tent setup?
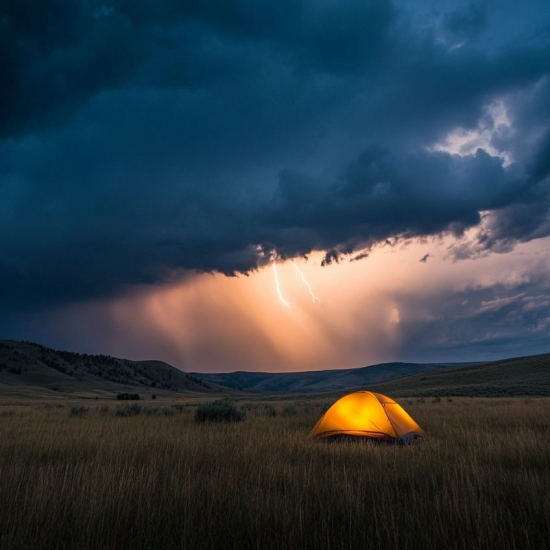
Adverse weather conditions like wind or rain can slow the tent setup process. Therefore, checking the weather forecast and choosing a sheltered spot to pitch your tent is essential.





No Comment! Be the first one.