Table Of Content
- Essential Gear for Beachside Tent Setup
- Gear Checklist
- Stay Ahead of the Game
- Teamwork is Key
- Weight Distribution
- Choosing the Right Tent for Sandy Beach Camping
- Considerations for Sandy Beach Tents
- Types of Tents Ideal for Sandy Ground
- Tips for Choosing the Best Tent
- Preparing the Sandy Ground for Tent Pitching
- Clear the Area
- Smooth Out the Sand
- Anchor Points
- Consider Using a Ground Cloth
- Sand Stakes vs. Regular Stakes
- Securing Tent Poles in Sandy Terrain
- Sturdy Foundations for Stability
- Teamwork and Adaptability
- Anchoring the Tent on Sandy Beaches
- Digging Deep for Stability
- Securing Your Shelter Against the Elements
- Adapting toNature’ss Whims
- Weatherproofing Your Beachside Shelter
- Seal the Seams
- Apply Waterproof Spray
- Use a Ground Tarp
- Secure Your Rainfly
- Maintaining Your Sandy Campsite
- Minimize Sand Accumulation Inside Your Tent
- Keep Your Gear Secure
- Regularly Check Tent Fastenings
- Frequently Asked Questions (FAQs)
- How can I effectively secure a tent on sandy ground at the beach?
- What are some common challenges of setting up a tent on sandy beachside terrain?
- Are any special tools or equipment recommended for securing a tent on sandy beachside ground?
Welcome, fellow adventurers, to the ultimate guide on beachside tent setup – securing your shelter on sandy ground. As a seasoned camping enthusiast, I understand the unique challenges of setting up a tent by the beach. But fear not, for with the proper techniques and know-how, you can ensure a stable and comfortable shelter amidst the coastal winds and shifting sands.
Pitching a tent on the beach requires more than just your standard pitching skills. The sandy terrain poses its own set of obstacles that need to be tackled effectively. From choosing the right spot to anchoring your tent securely, every step is crucial in ensuring your shelter stands strong against the elements.
One key aspect of setting up a beachside tent is anchoring it correctly on the sandy ground. Stakes may not hold well in loose sand, unlike pitching on solid ground. In such scenarios, sandbags, rocks, or sand anchors can stabilize your tent from blowing away in the ocean breeze.
This guide will delve into the essential techniques for beachside tent setup, including selecting the ideal location, securing your tent with the proper anchors, and optimizing ventilation for a comfortable stay by the sea. Join me as we unlock the secrets to a successful beach camping experience where you can relax, unwind, and connect with nature in the most serene coastal settings. Let’s dive in!
Essential Gear for Beachside Tent Setup
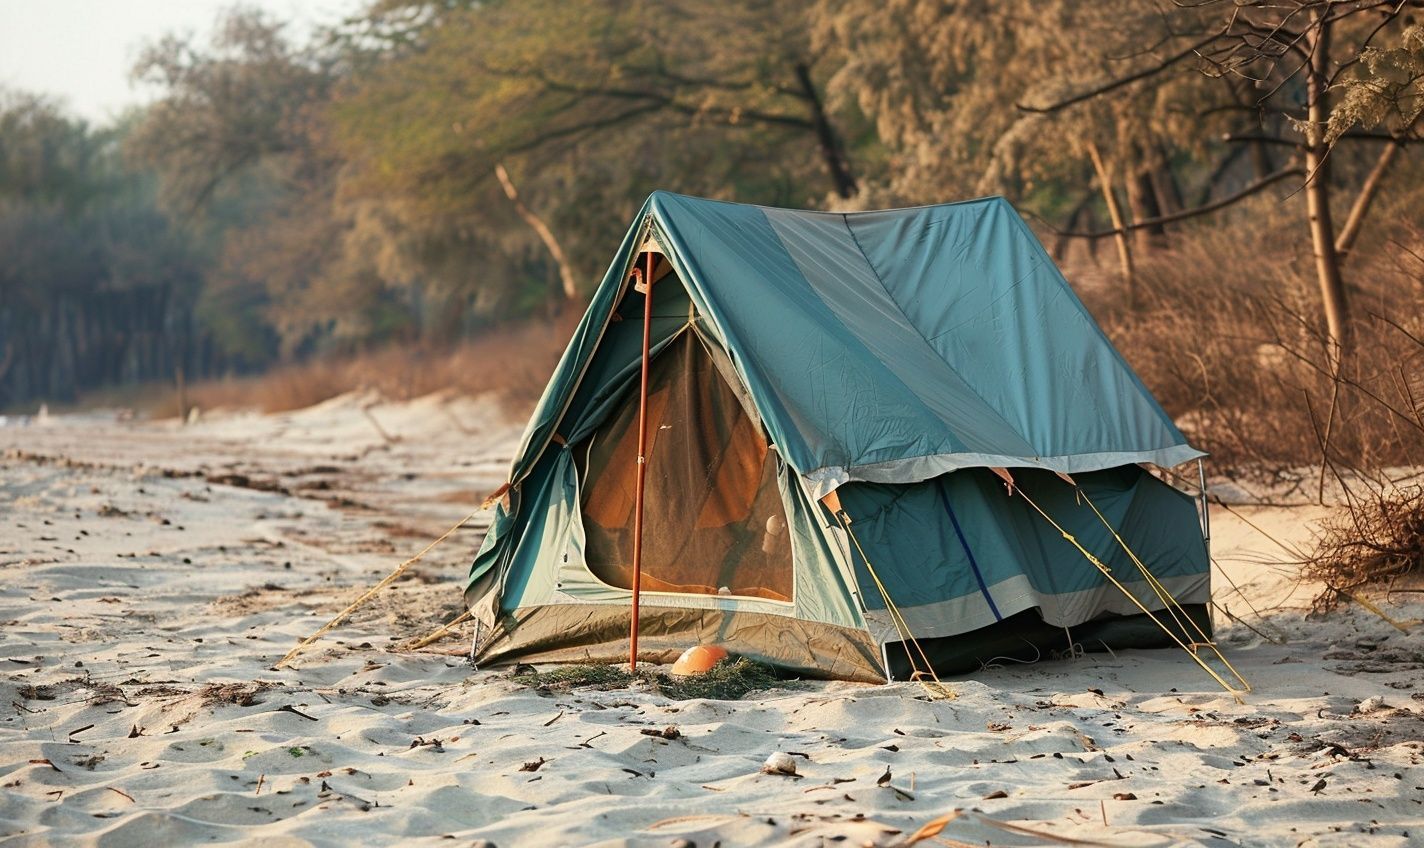
So you’ve chosen the perfect spot for your beachside camping adventure, but now comes the crucial part—setting up your tent on the sandy ground. But fear not; you can secure your shelter even in the most challenging beach conditions with the right gear and techniques.
Gear Checklist:
- Sand Anchors are essential for securing your tent in sandy terrain and preventing it from blowing away in strong coastal winds.
- Tent Stakes: Invest in sturdy, long stakes to anchor your tent firmly on the sandy beach, ensuring stability.
- Ground Cloth or Tarp: Place a protective layer underneath your tent to shield it from abrasive sand and sharp shells.
Stay Ahead of the Game:
But before pitching your tent, remember to survey the area for debris or sharp objects that might puncture your tent floor. Also, look for natural windbreaks, such as dunes or rocks, to shield your camping spot.
Teamwork is Key:
Pitching a tent on sandy ground can be tricky, so enlisting the help of a buddy can make the process smoother. Assign tasks and work together to ensure a secure and stable setup.
Weight Distribution:
When setting up your tent, distribute weight evenly to prevent sinking in the sand. Adjust guy lines and stakes to tighten the tent structure and minimize movement during windy conditions.
And remember, while the process may seem daunting, with the right gear and preparation, you can create a cozy beachside retreat that stands firm against the elements.
Choosing the Right Tent for Sandy Beach Camping
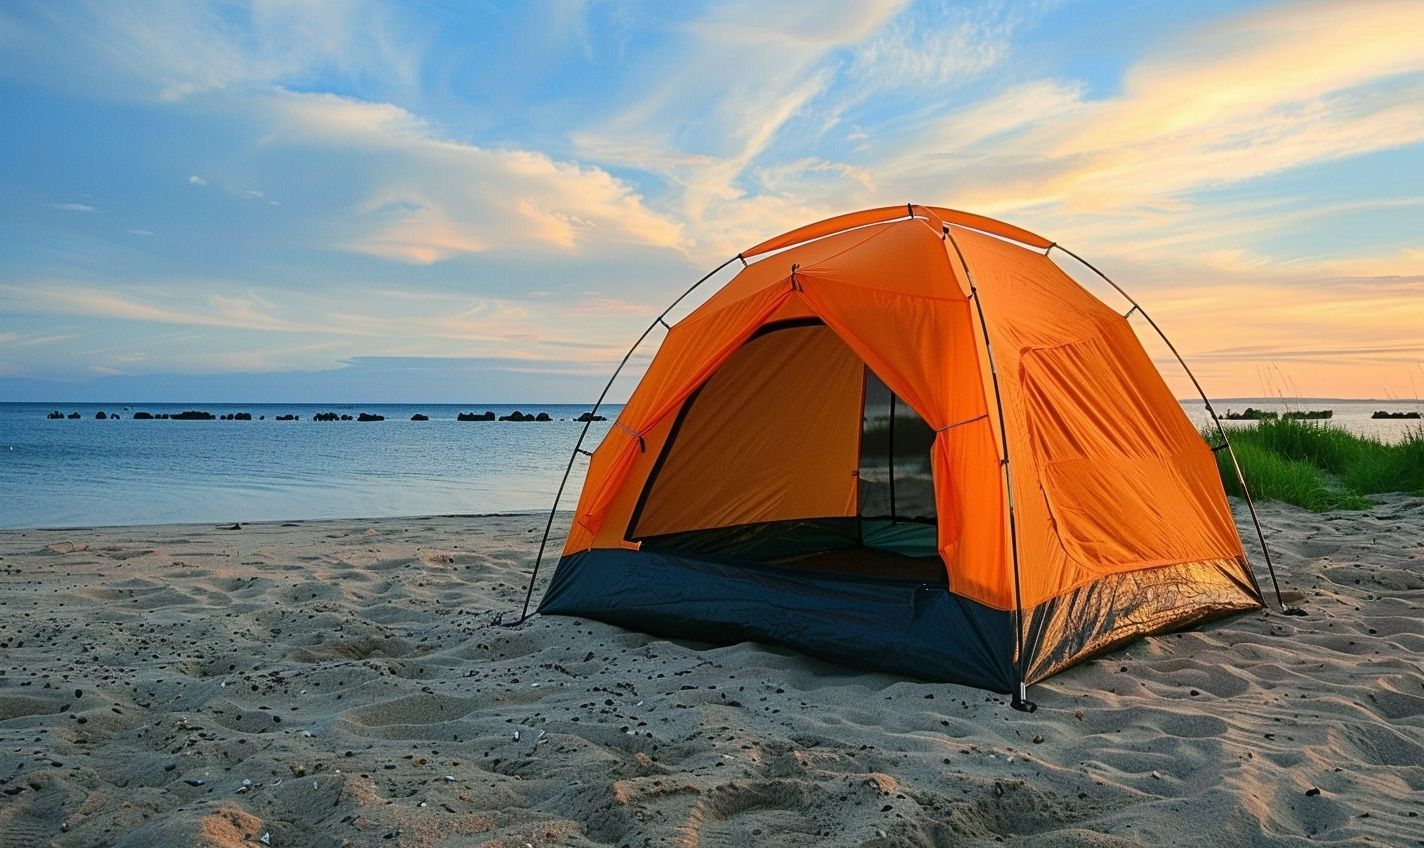
Camping by the beach under the starlit sky is a dreamy escape for many. But setting up camp on sandy grounds has unique challenges, particularly when securing your shelter. The first step in ensuring a successful beachside tent setup is selecting the right tent. Here is some guidance on choosing the perfect tent for your sandy adventure:
Considerations for Sandy Beach Tents:
When picking a tent for your beachside retreat, keep these factors in mind:
- Durability: Opt for a tent of rugged, water-resistant materials to withstand the sandy environment.
- Ventilation: Choose a tent with ample ventilation to prevent sand buildup inside.
- Size: Select a size that suits your needs, considering the number of occupants and gear you’ll have.
Types of Tents Ideal for Sandy Ground:
Here are a few tent styles that work well on sandy beaches:
- Dome Tents: Their aerodynamic shape is stable in winds and sand.
- Pop-Up Tents: Easy to set up, great for quick beach getaways.
- Tunnel Tents: Provide spacious room and stability against coastal winds.
Tips for Choosing the Best Tent:
Here are some additional pointers to help you make the right tent choice:
- Test the Setup: Practice pitching your tent before heading to the beach to ensure you know the process.
- Check the Zippers: Opt for tents with high-quality zippers to prevent sand from jamming them.
- Color Choice: Consider choosing a tent with a lighter color to reflect sunlight and keep the interior cool.
Remember, your tent is your home away from home when camping on sandy shores. By selecting a durable, well-suited tent, you’re laying a sturdy foundation for your beachside adventure. Now that you’re equipped with the knowledge of choosing the perfect tent, you’re one step closer to a blissful camping experience with the tranquil waves. So, which tent style resonates with your beachside vision?
Preparing the Sandy Ground for Tent Pitching
Clear the Area
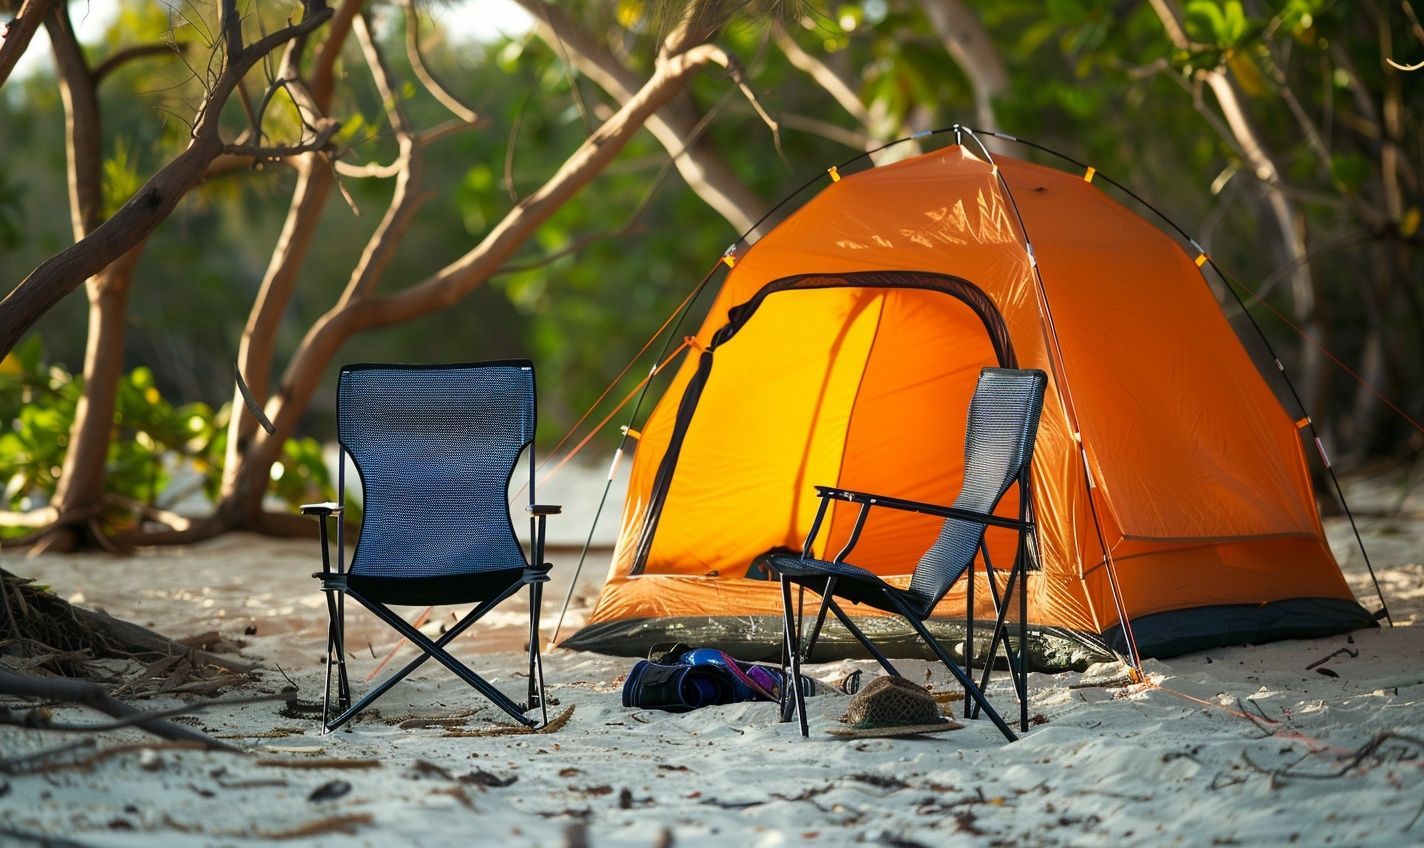
Before pitching your tent, remove any debris, shells, or sharp objects from the sandy ground to avoid puncturing your tent floor or sleeping pads.
Smooth Out the Sand
Level the area where you plan to pitch your tent using a shovel or your feet to create a flat surface. Uneven ground can lead to discomfort while sleeping.
Anchor Points
Since sandy terrain doesn’t provide natural anchor points like grass or soil, consider using sandbags or heavy rocks to secure your tent correctly.
And remember, even the most tranquil beachside setting can turn windy, so ensure your tent is securely anchored to prevent it from taking flight. ?️
Consider Using a Ground Cloth
Placing a ground cloth or tarp beneath your tent can provide an extra layer of protection against sharp objects and help keep sand from seeping through the tent floor.
Sand Stakes vs. Regular Stakes
Sand stakes are explicitly designed for sandy ground and are often broader and more prolonged than regular stakes, providing better grip in loose terrain.
But if you don’t have sand stakes, you can improve by burying regular stakes at a 45-degree angle in the sand for better hold.
Ensuring your beachside tent is adequately secured on the sandy ground will enhance your camping experience and offer you peace of mind during those breezy coastal nights.
Securing Tent Poles in Sandy Terrain
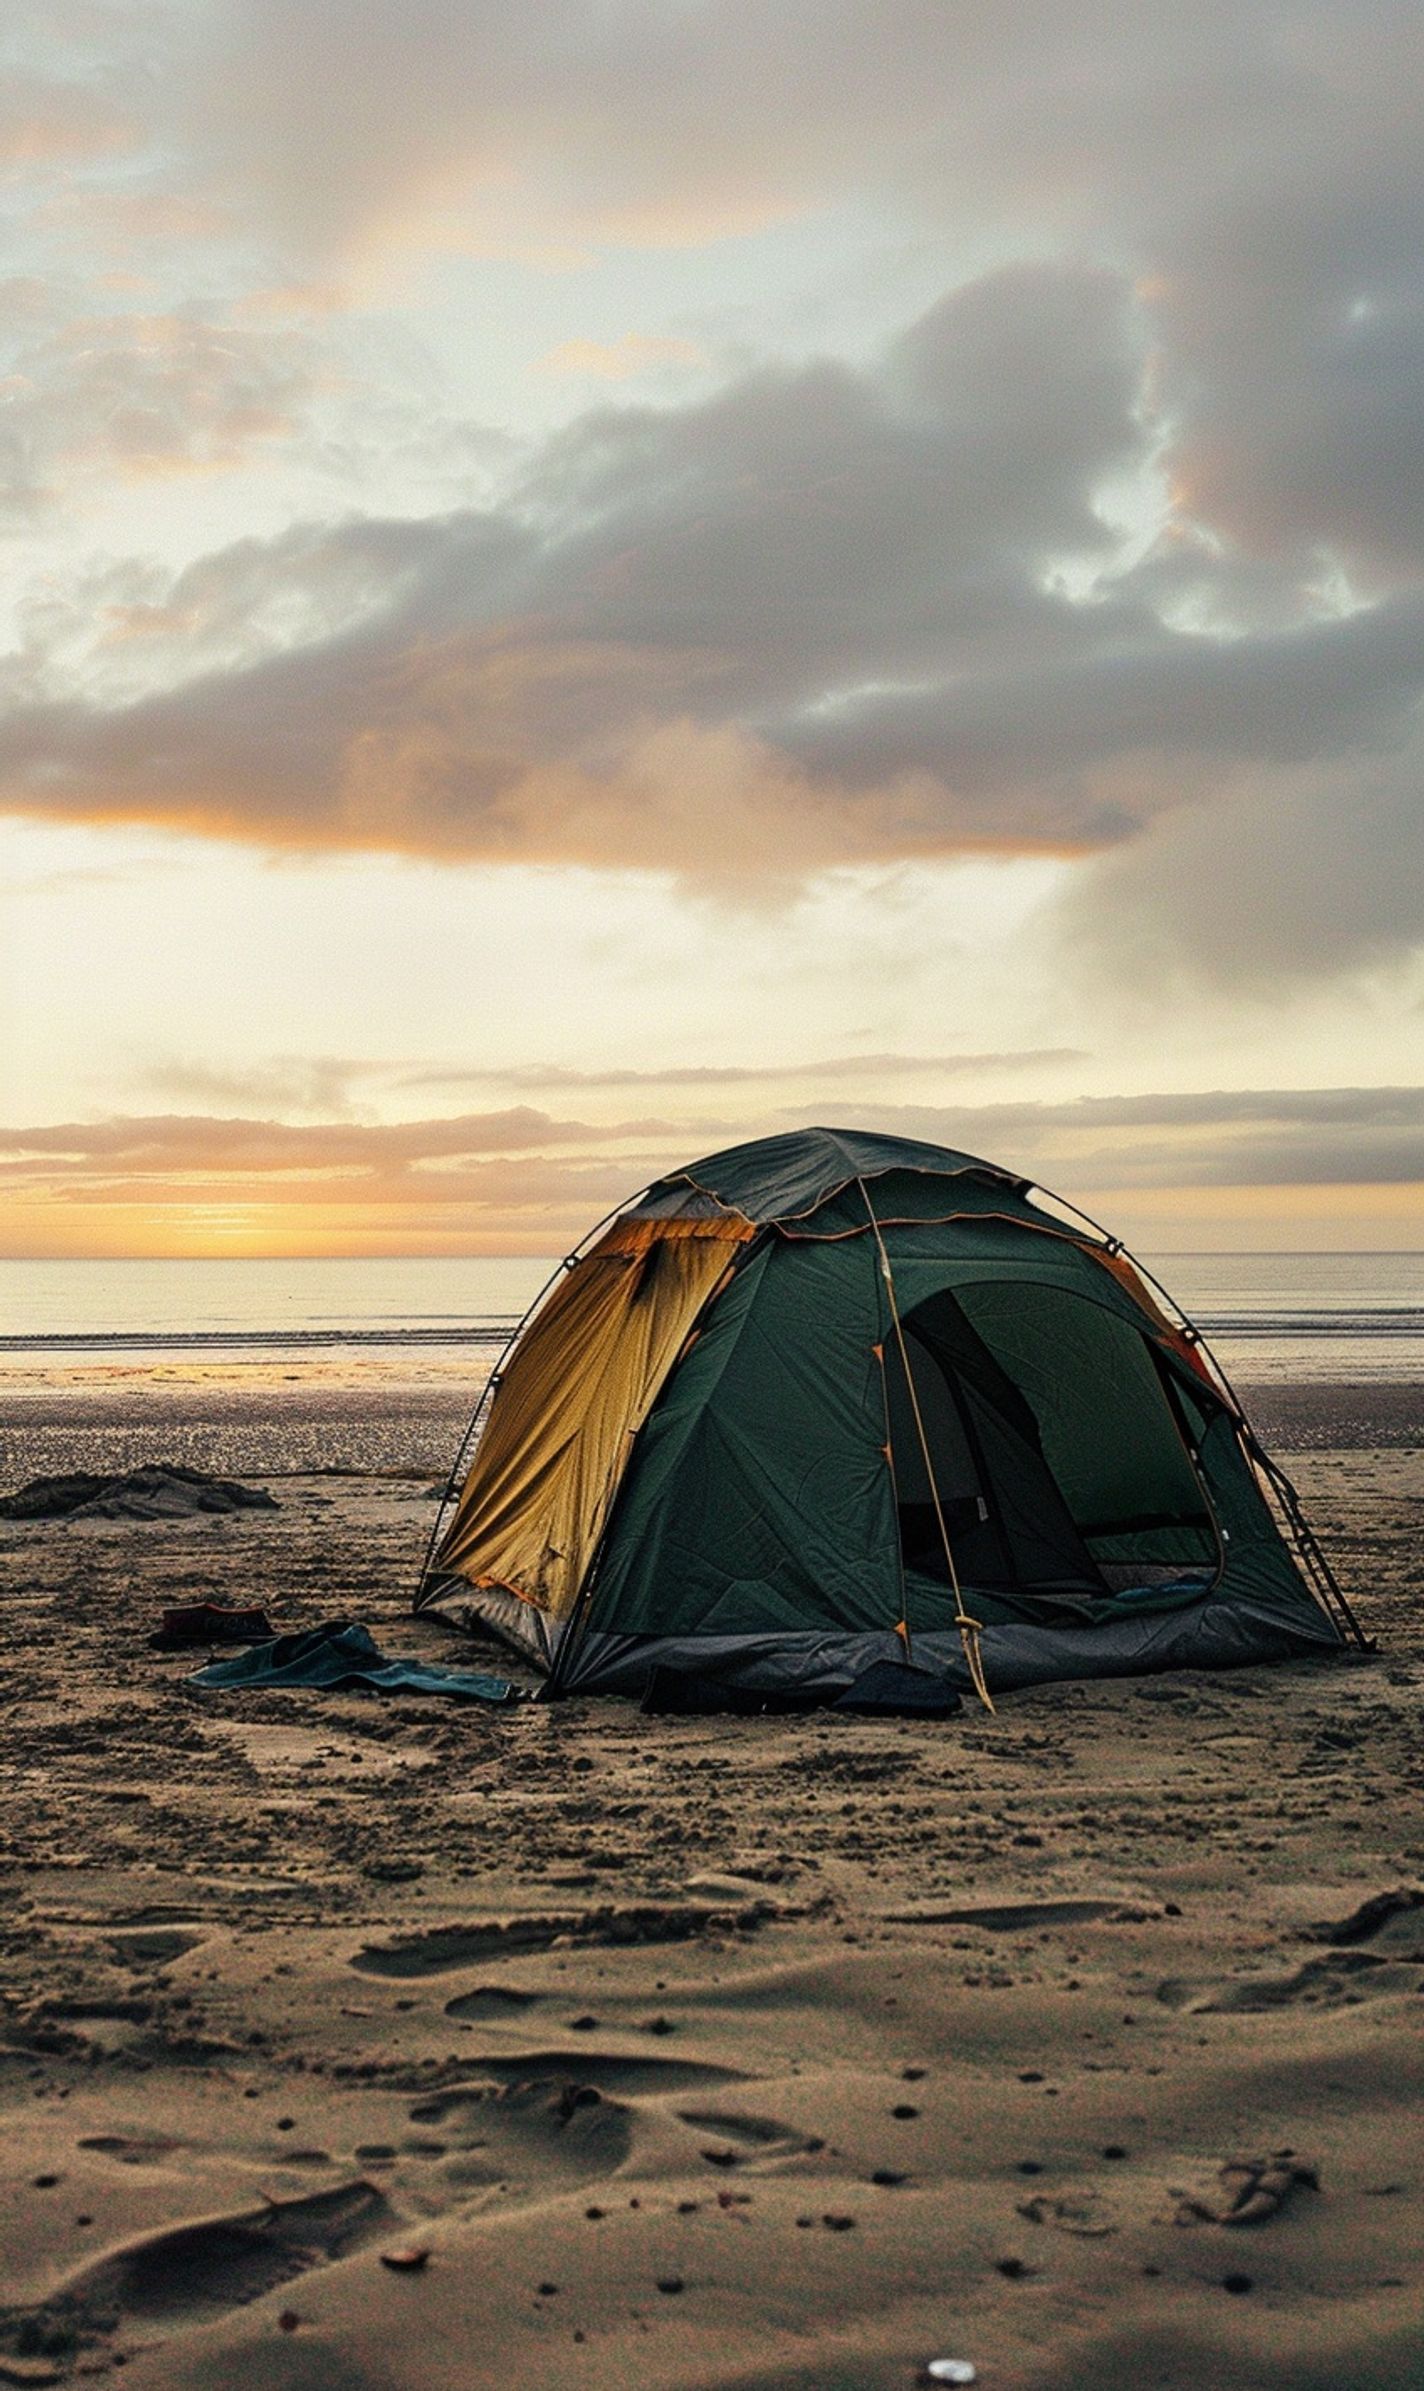
Pitching a tent on a sandy beach can be challenging yet rewarding. The soft, shifting terrain requires careful consideration when setting up your temporary shelter. One crucial aspect of beachside tent setup is securing your tent poles firmly in the sandy ground.
Sturdy Foundations for Stability
When setting up your tent in sandy terrain, securing the tent poles effectively is essential for stability and to prevent your shelter from collapsing in the wind.
Here are some tips to help you secure your tent poles on sandy ground:
- Choose the Right Location: Look for a spot on the beach where the sand is slightly compacted and less likely to shift.
- Dig Deep Holes: Use a sand anchor or a shovel to dig deep holes for the tent poles to ensure a secure fit.
- Angle the Poles: The tent poles are slightly angled in the prevailing wind direction to provide additional stability.
- Use Sandbags or Rocks: Place sandbags or rocks around the base of the tent poles to anchor them securely in place.
Teamwork and Adaptability
Securing tent poles in sandy terrain requires teamwork and adaptability. Communicate with your camping companions to ensure that each pole is firmly anchored, and be prepared to make adjustments as needed.
Remember, just as a ship needs a strong anchor to weather the storm, your tent requires a stable foundation to withstand the elements on a sandy beach. By securing your tent poles properly, you can enjoy a peaceful night’s sleep under the stars, listening to the soothing sound of the waves.
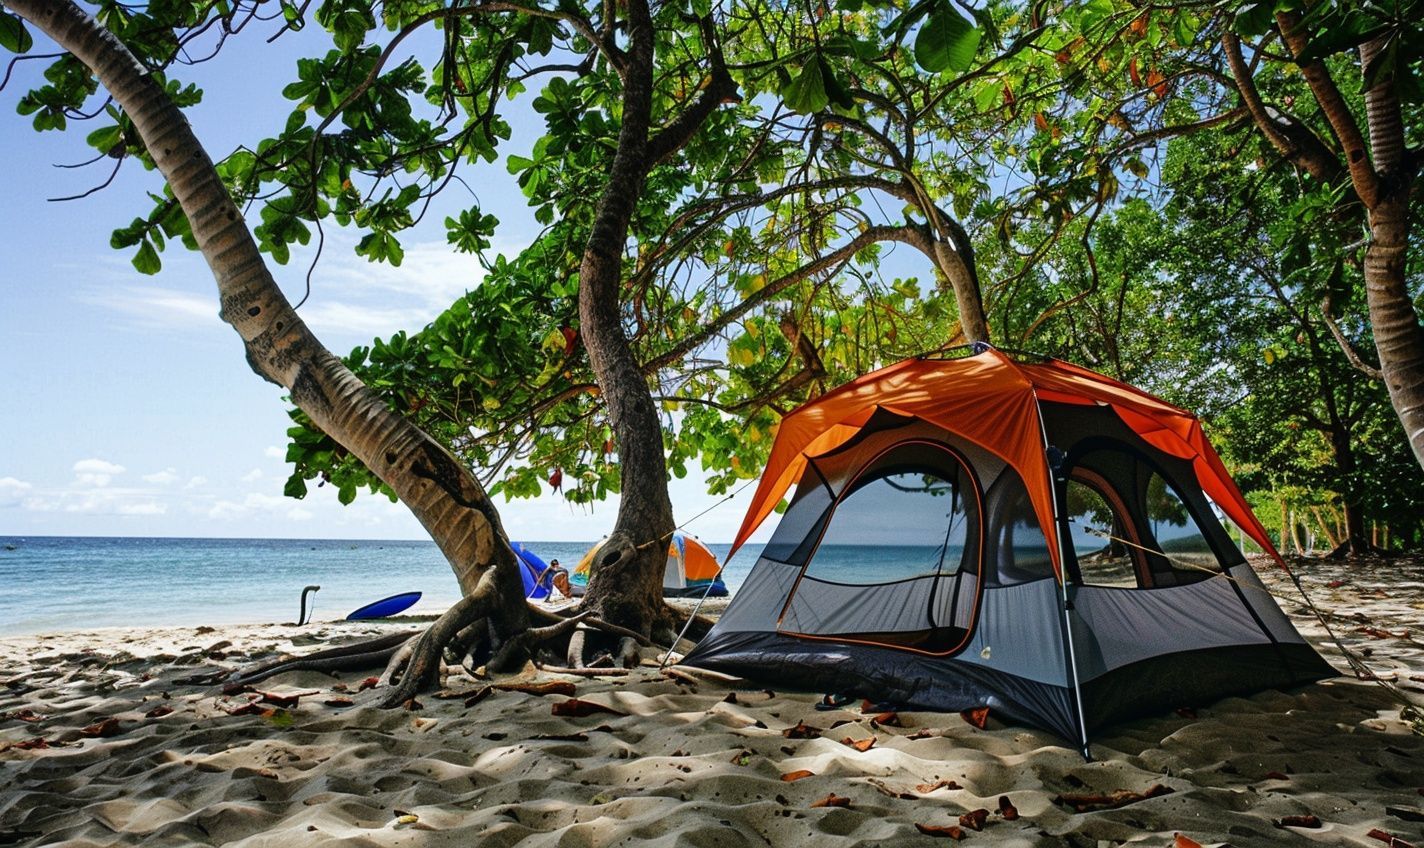
Anchoring the Tent on Sandy Beaches
When setting up your beachside sanctuary, securing your tent on the sandy shore is crucial to ensure a peaceful night’s rest. The gentle lull of the ocean waves can quickly become a nightmare if your shelter isn’t properly anchored.
Digging Deep for Stability
Imagine your tent as a ship sailing on the sandy sea. As the ship’s anchor keeps it from drifting away, staking your tent down provides stability against the shifting sands. To achieve this, follow these steps:
- Use lightweight yet sturdy sand anchors or long stakes designed for sandy terrain.
- Harness the power of nature—collect rocks or driftwood to use as an additional weight for anchoring points.
- Digging deep—create deep anchor points angled away from the tent to prevent pulling out when tugged by winds.
Securing Your Shelter Against the Elements
The wind may pick up as the sun sets over the horizon, and the tide might shift. To keep your tent steady and safe, consider the following tactics:
- Windproofing—position your tent entrance away from the prevailing winds to minimize flapping and potential damage.
- Sandbagging: Use sandbags or fill bags with sand and tie them to your guylines for added security against gusts.
- Guyline tension: Adjust the guylines to ensure your tent is taut, preventing slack that can lead to flapping and potential tears.
Adapting toNature’ss Whims
But what if nature tests your anchoring skills with unexpected weather conditions? Flexibility is key. Be prepared to make adjustments on the fly:
- Stay vigilant—periodically check and adjust your anchoring points for any loosening due to wind or shifting sands.
- Emergency reinforcements—have additional stakes, guylines, and tools to address any anchoring issues that may arise quickly.
Weatherproofing Your Beachside Shelter
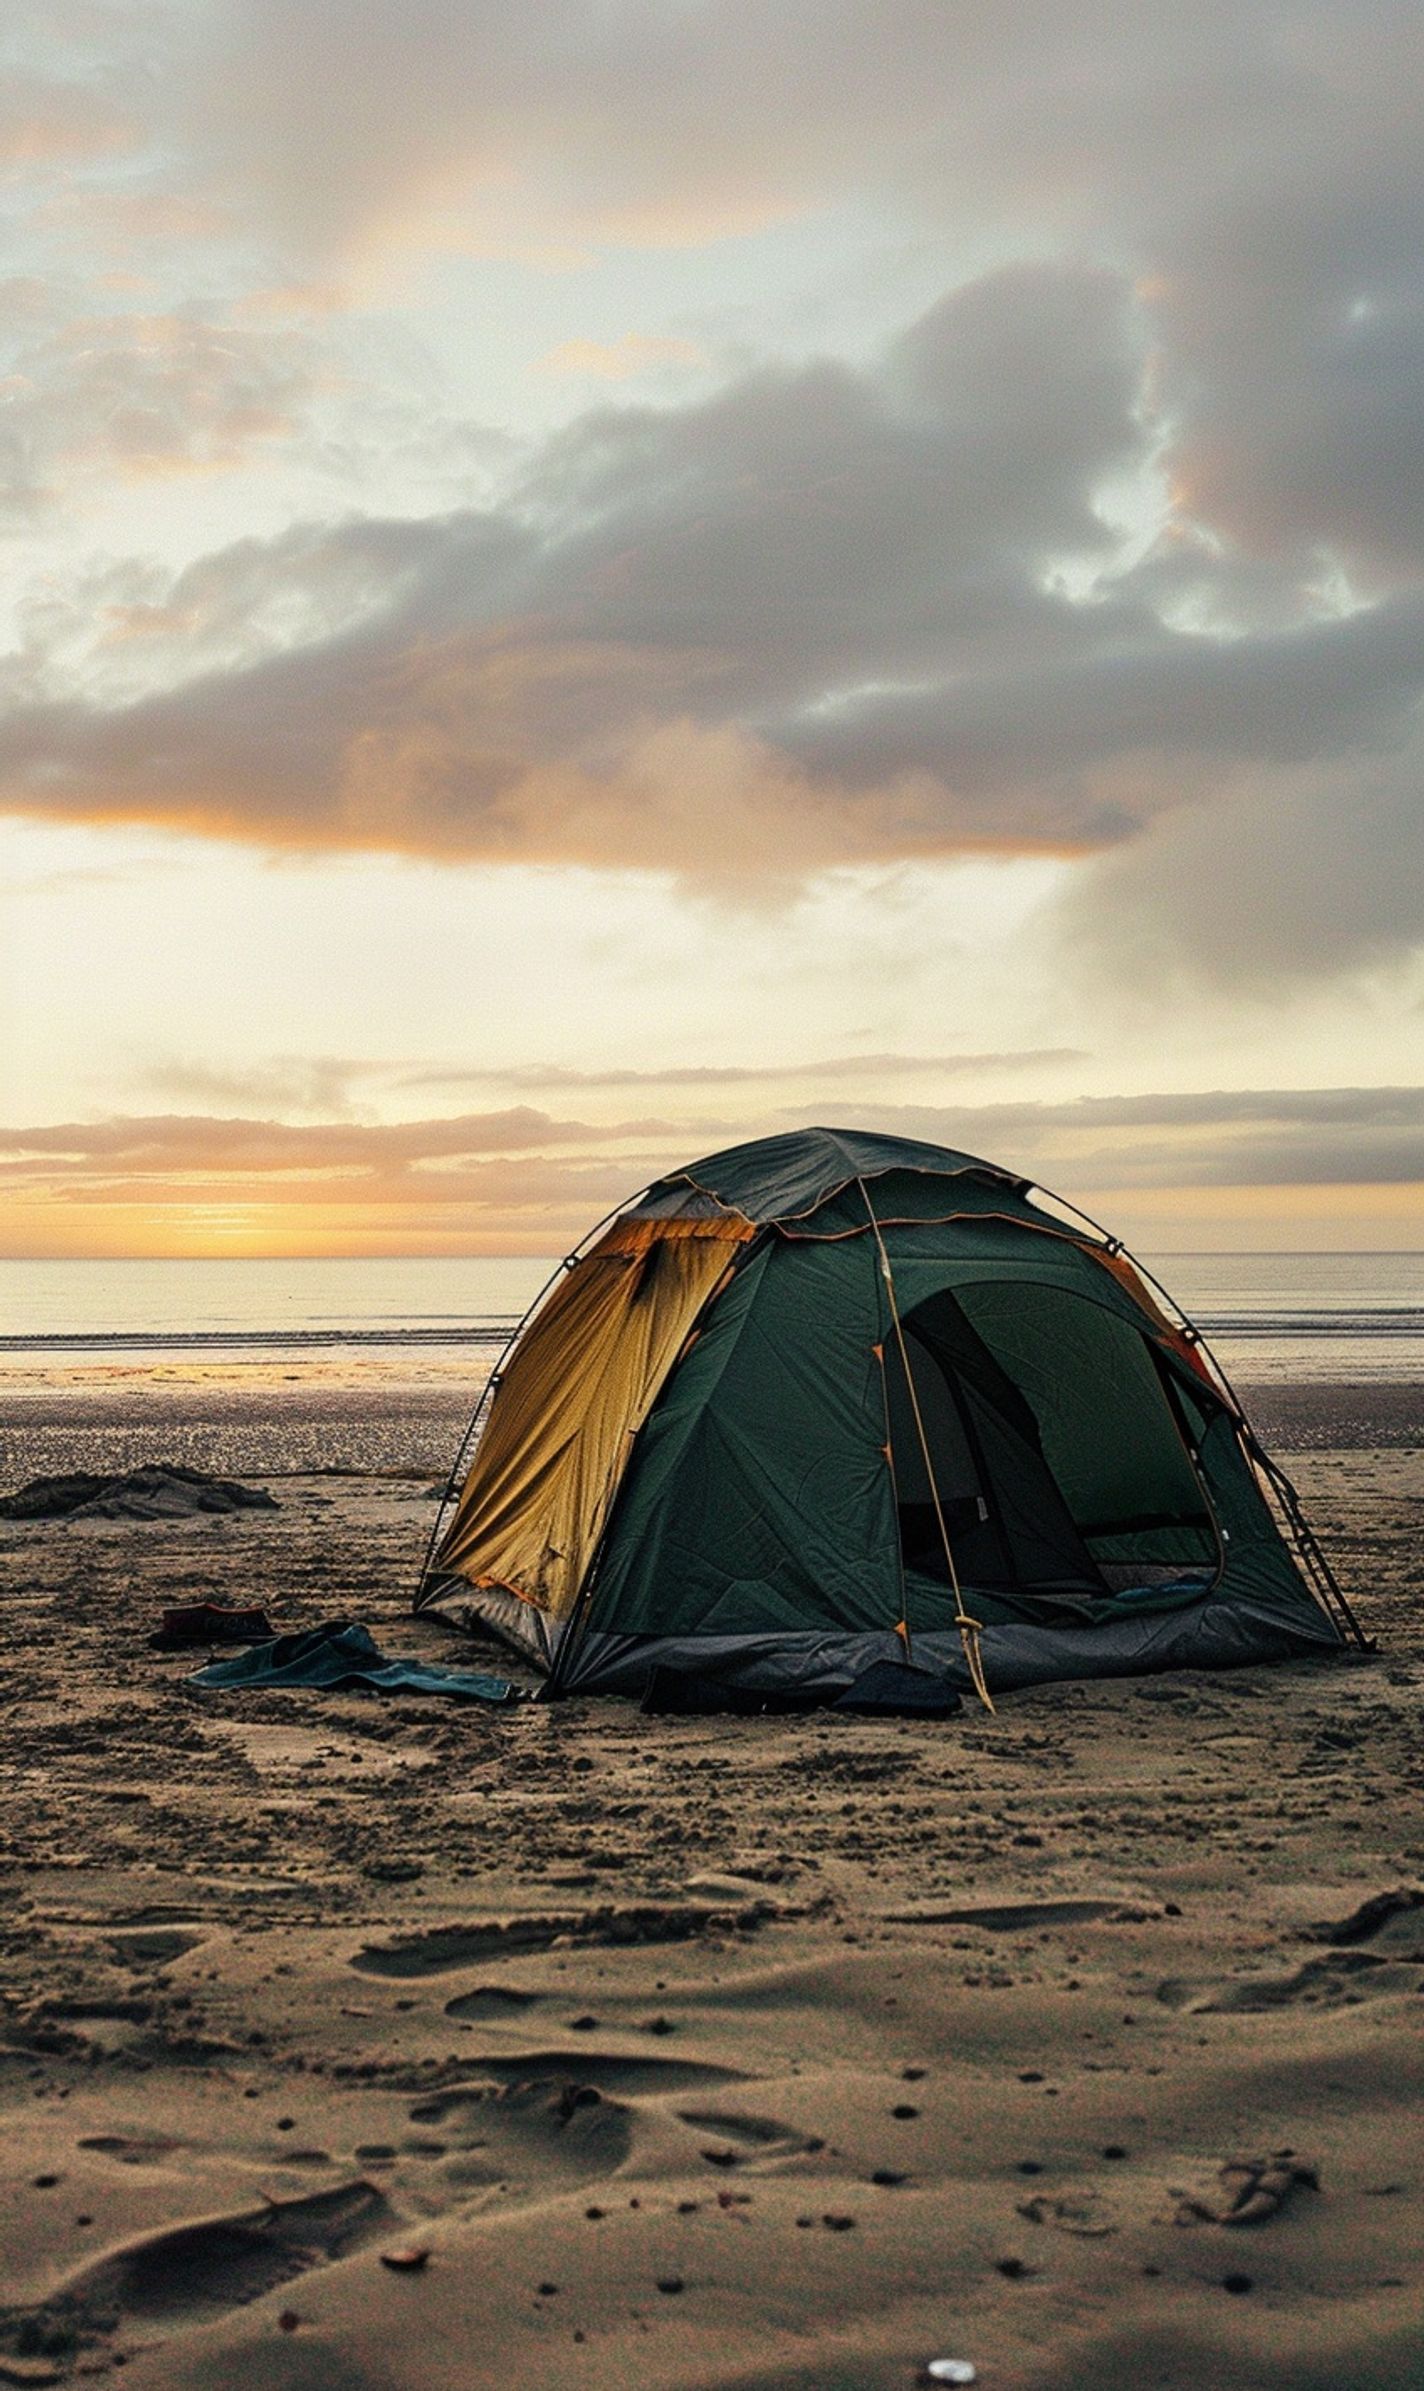
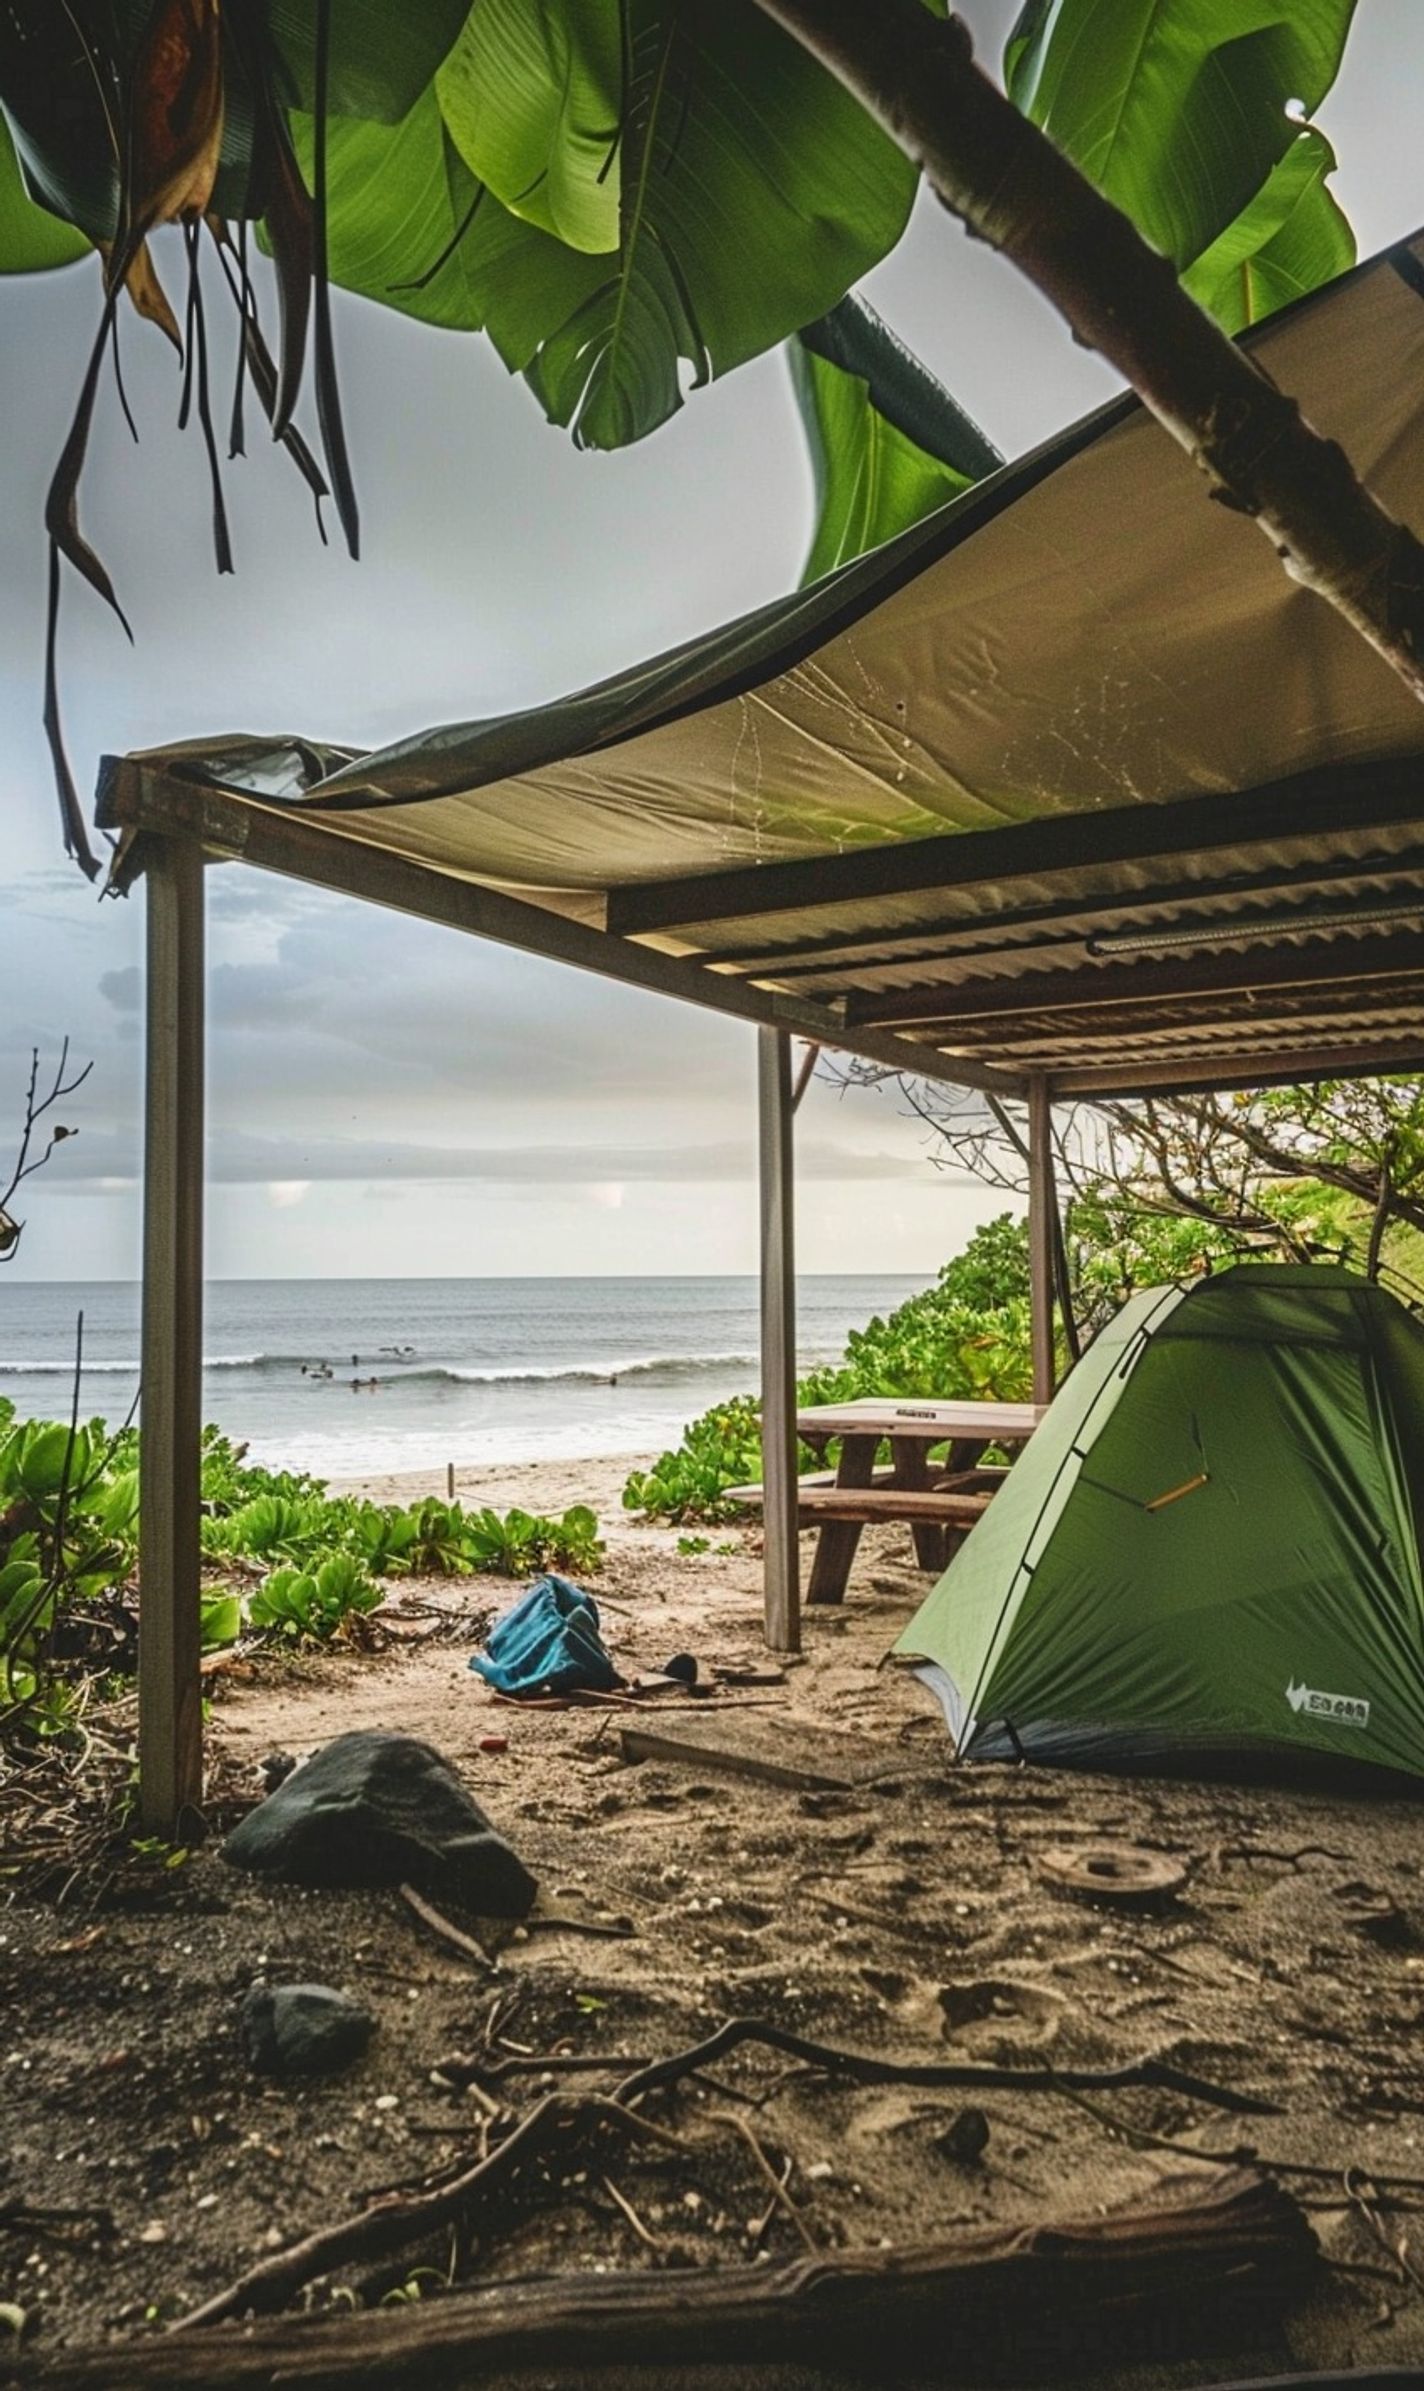

After setting up your tent on the sandy beach, the next crucial step is to weatherproof your beachside shelter to ensure a safe and comfortable camping experience. Imagine a gentle ocean breeze turning into a sudden gust of wind or a drizzle evolving into a heavy downpour. How can you protect your tent from these unpredictable beachside weather conditions? Let’s explore some essential tips for weatherproofing your beachside shelter.
Seal the Seams:
Check your tent’s seams for any signs of wear and tear. Use a seam sealer to waterproof the stitching and prevent water from seeping through the seams during rain showers.
Apply Waterproof Spray:
Invest in a quality waterproof spray designed for outdoor gear. Apply a generous coat to the rainfly and tent floor to repel water and keep your shelter dry in case of unexpected rain.
Use a Ground Tarp:
Place a ground tarp underneath your tent to create an additional barrier against moisture from the sandy ground. This extra layer helps prevent water seepage and adds extra protection.
Secure Your Rainfly:
Make sure your rainfly is securely attached to your tent. Adjust the guylines and stakes to ensure the rainfly is taut and appropriately pitched. This will help divert rainwater away from your tent and maintain ventilation.
Remember, a well-weatherproofed beachside shelter can make all the difference between a soggy camping experience and a cozy night under the stars. Preparing your tent for unpredictable weather conditions will guarantee a more enjoyable stay at the beach.
So, grab your seam sealer, waterproof spray, and ground tarp, and weatherproof your beachside shelter like a pro. Stay ahead of the elements and confidently embrace the beauty of beachside camping!
Maintaining Your Sandy Campsite
So, you’ve successfully pitched your tent on the sandy beach; it’s time to ensure your beachside campsite stays safe and comfortable throughout your stay. Here are some tips to help you maintain your sandy oasis:
Minimize Sand Accumulation Inside Your Tent
Keeping sand out of your sleeping area is crucial for a good night’s rest. Here is how to prevent the invasion of pesky grains:
- Use a doormat or tarp outside your tent entrance
- Shake out towels and clothes before bringing them inside
- Change out of sandy shoes before entering your tent
Keep Your Gear Secure
With the constant wind and shifting sands, securing your camping gear is essential to prevent it from getting blown away. Here is how to ensure your equipment stays put:
-
- Use sandbags or heavy rocks to anchor items like chairs and coolers
- Always zip up and secure tent doors and windows when not in use
- Stow away loose items in sturdy containers or bags
Regularly Check Tent Fastenings
Given the tendency of sandy terrain to shift, it is recommended that your tent’s fastenings be checked and tightened regularly to maintain the structure’s integrity. Check the rates and lines to avoid any surprises.
And remember, maintaining your sandy campsite isn’t just about practicality – by taking care of your surroundings, you’re also preserving the beauty of the beach for others to enjoy after you.
Conclusion
As you can see, setting up a tent on the sandy beachside ground presents unique challenges. By following the proper techniques and tips mentioned in this guide, you can ensure a secure and stable shelter for your beachside camping adventure.
Always survey the ground, use sand anchors or heavy bags, and properly secure all tent stakes to prevent your tent from being blown away by strong winds or tides. Additionally, consider investing in a high-quality tent designed explicitly for beachside camping to enhance your camping experience further.
Ensuring a well-pitched tent provides you with a comfortable and safe camping experience and allows you to enjoy the beauty of the beach while being sheltered from the elements. So, next time you embark on a beachside camping trip, put these tips into practice and make the most of your outdoor adventure.
With the right preparation and attention to detail, you can enjoy a fantastic beachside camping experience and create unforgettable memories with your friends and family. So, pack your tent, grab your camping gear, and head to the sandy shores for a relaxing and rejuvenating getaway in nature.
Frequently Asked Questions (FAQs)
How can I effectively secure a tent on sandy ground at the beach?
Securing a tent on sandy ground requires using sand and anchor stakes and correctly pitching and guying out the tent. Here are some steps to help you secure your beachside tent:
- Choose the right location: Look for a spot with compact sand and natural windbreaks.
- Use sandbags or fill sacks with sand to weigh down the corners and sides of your tent.
- Utilize specialty sand anchors that are designed for sandy terrains.
- Consider using extended, vital stakes to anchor your tent into the sand.
- Ensure your guylines are taut and securely anchored to prevent the tent from shifting.
What are some common challenges of setting up a tent on sandy beachside terrain?
Setting up a tent on sandy ground can pose specific challenges due to the lack of firm anchoring. Common issues include:
- Difficulty in driving stakes into loose sand.
- Risk of the tent shifting or collapsing in windy conditions.
- Sand getting into zippers and other mechanisms.
Are any special tools or equipment recommended for securing a tent on sandy beachside ground?
Specialized sand anchors, longer stakes, sandbags, and sand-filled sacks are recommended to ensure a secure tent setup on sandy beachside terrain.




No Comment! Be the first one.